In this post, we will see how to create a menu in React, using React Router.
First of all, we create an application called manage_user, using the command:
npx Create-react-app manage_user
and then, using the command npm i react-router-dom –save, we will install React Router
We start to create a component called menu:
[MENU.JS]
import React from 'react'

class Menu extends React.Component {
    render() {
      return (
        <div>
        <h1>Manage Users</h1>
        <ul className="header">
          <li><a href="/Home">Home</a></li>
          <li><a href="/ListUsers">List Users</a></li>
          <li><a href="/NewUser">New User</a></li>
        </ul>
        <div className="content">

        </div>
      </div>
      );
    }
  }

  export default Menu;
Then, we add this component in the file App.js, in order to display the menu in the application:
import React from 'react';
import './App.css';
import Menu from './Menu';

function App() {
  return (
    <Menu></Menu>
  );
}

export default App;
If we run the application, using the command npm start, this will be the result:

Now, we will create three new components called Home, ListUsers and NewUser:
[HOME.JS]
import React from 'react'

class Home extends React.Component {
    render() {
      return (
        <div>
        <h1>HOME WORKS!</h1>
      </div>
      );
    }
  }

  export default Home;
[LISTUSERS.JS]
import React from 'react'

class ListUsers extends React.Component {
    render() {
      return (
        <div>
        <h1>THE LIST OF USERS WORKS!</h1>
      </div>
      );
    }
  }

  export default ListUsers;
[NEWUSER.JS]
import React from 'react'

class NewUser extends React.Component {
    render() {
      return (
        <div>
        <h1>THE NEW USER FORM WORKS!</h1>
      </div>
      );
    }
  }

  export default NewUser;
Finally, we will modify the component Menu, in order to create a link between the menu and the components:
[MENU.JS]
import React from 'react'
// import from react-router-dom these three object
// used to manage the route
import {
    Route,
    NavLink,
    HashRouter
  } from "react-router-dom";
  // import the page
 import Home from "./Home";
 import ListUsers from "./ListUsers";
 import NewUser from "./NewUser";

 // With <HashRouter> we define the Routing area.
 // With <NavLink> we define the navigation links.
 // In the Div "content", we will show all the pages.
 // The attributes "to" and "path" are used to create a link between NavLink and Route.

class Menu extends React.Component {
    render() {
      return (
        <HashRouter>
        <div>
        <h1>Manage Users</h1>
        <ul className="header">
          <li><NavLink to="/">Home</NavLink></li>
          <li><NavLink to="/ListUsers">List Users</NavLink></li>
          <li><NavLink to="/NewUser">New User</NavLink></li>
        </ul>
        <div id="content" className="content">
            <Route exact path="/" component={Home}/>
            <Route path="/ListUsers" component={ListUsers}/>
            <Route path="/NewUser" component={NewUser}/>
        </div>
      </div>
      </HashRouter>
      );
    }
  }

  export default Menu;
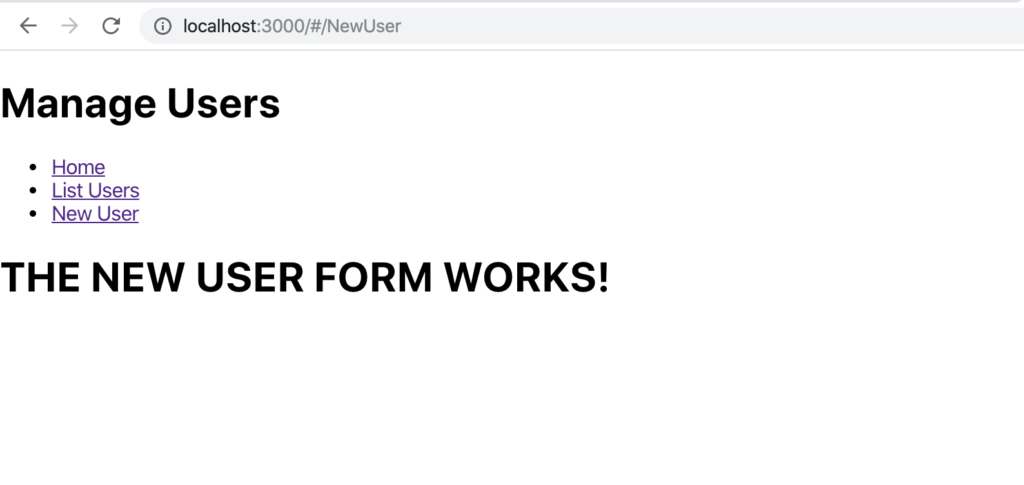
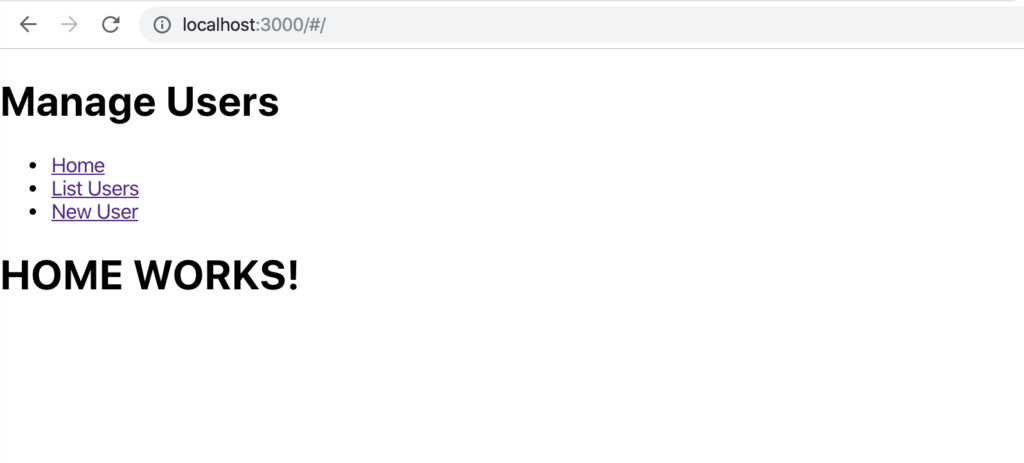
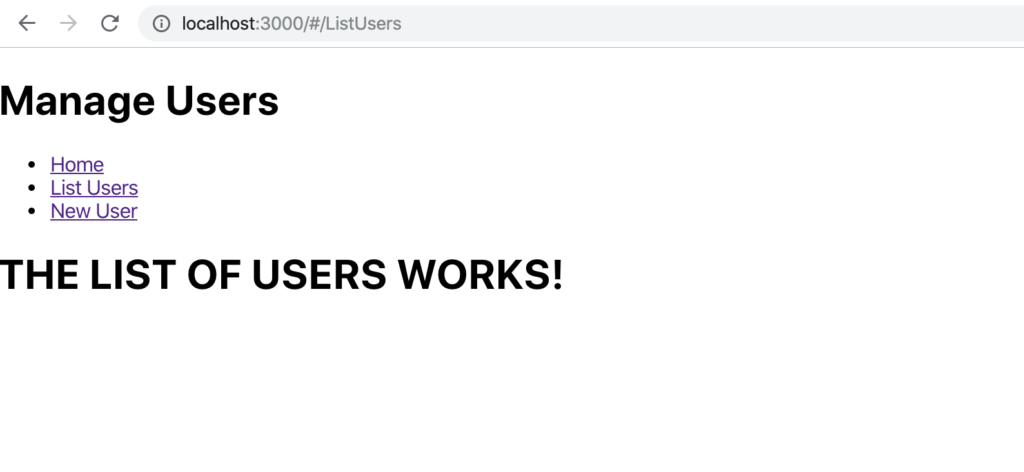
Now, if we run the application, this will be the result:
HOME
LIST USERS
CREATE USER