In this post, we will see how to add a menu in the angular project created in the post: How to consume a Web API in Angular.
We open terminal, go to the project’s folder and we create three new components using the commands
ng g c topmenu
ng g c homepage
ng g c newuser
and then, we define the topmenu component:
[TOPMENU.COMPONENT.HTML]
<nav class="navbar navbar-dark bg-dark mb-5">
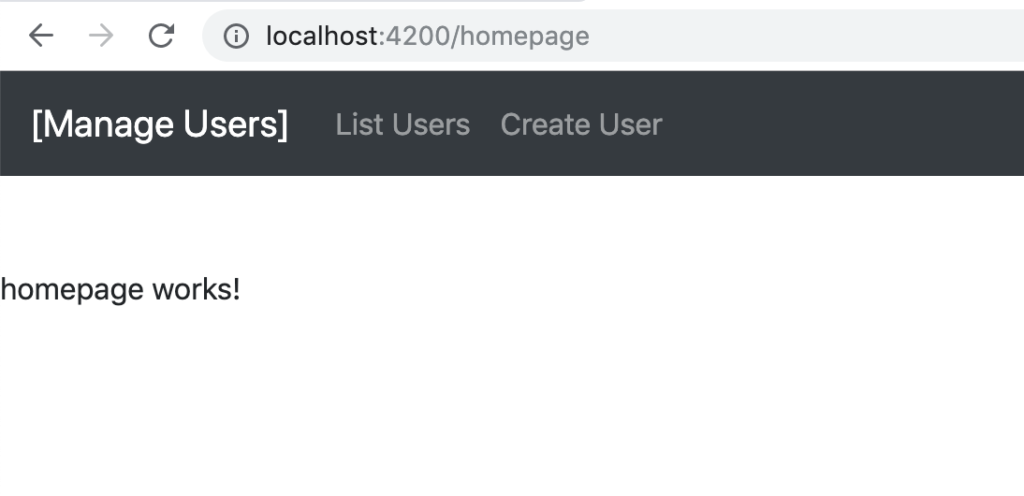
<a class="navbar-brand" routerLink="homepage">[Manage Users]</a>
<div class="navbar-expand mr-auto">
<ul class="nav navbar-nav" routerLinkActive="active">
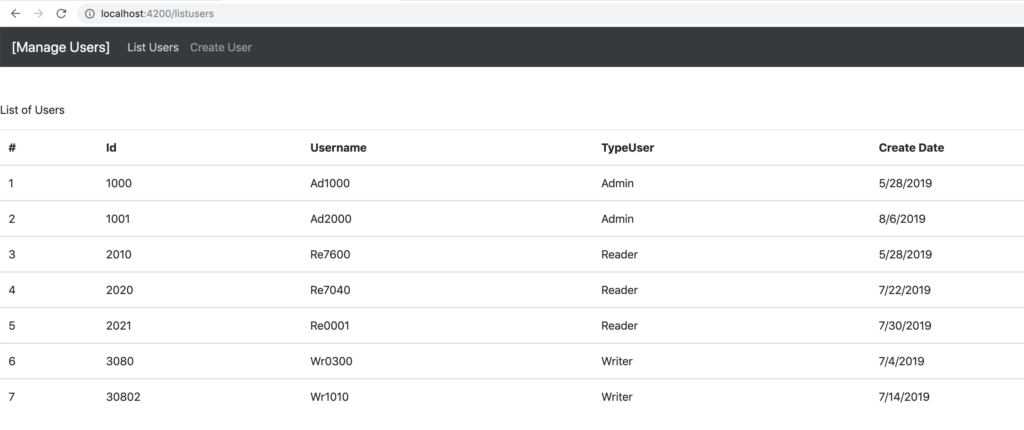
<li class="nav-item"><a class="nav-link" routerLink="/listusers">List Users</a></li>
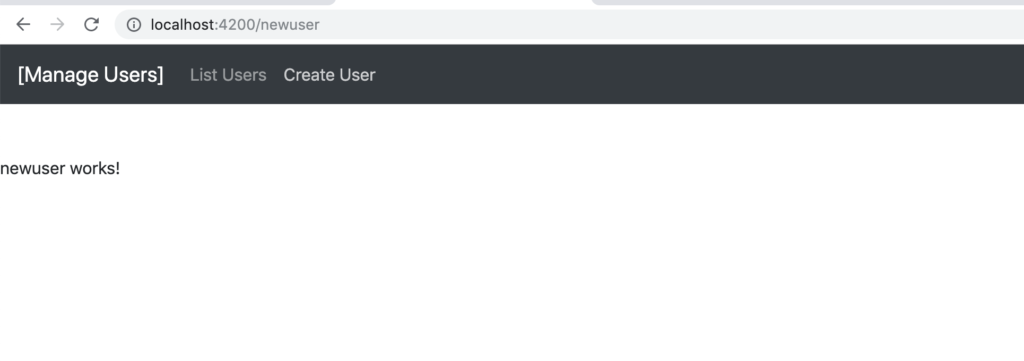
<li class="nav-item"><a class="nav-link" routerLink="/newuser">Create User</a></li>
</ul>
</div>
</nav>
In order to use the menu component in the project, we have to add it in the App file:
[APP.COMPONENT.HTML]
<app-topmenu></app-topmenu>

<router-outlet>
</router-outlet>
and finally, we have to modify the app-routing file:
[APP-ROUTING.MODULE.TS]
1 2 3 4 5 6 7 8 9 10 11 12 13 14 15 16 17 18 19 | import { NgModule } from '@angular/core';import { Routes, RouterModule } from '@angular/router';import { ListusersComponent } from './listusers/listusers.component';import { HomepageComponent} from './homepage/homepage.component';import { NewuserComponent} from './newuser/newuser.component';const routes: Routes = [ { path: '', pathMatch: 'full', redirectTo: 'homepage'}, { path: 'homepage', component: HomepageComponent }, { path: 'listusers', component: ListusersComponent }, { path: 'newuser', component: NewuserComponent }, { path: '**', pathMatch: 'full', redirectTo: 'homepage' } ];@NgModule({ imports: [RouterModule.forRoot(routes)], exports: [RouterModule]})export class AppRoutingModule { } |
Now, if we run the application, this will be the result:
HOMEPAGE
LIST USERS
CREATE USER