
In this post, we will see how to deploy a Node.js application in Azure, using Visual Studio Code.
First of all, we have to create a Web App in Azure.
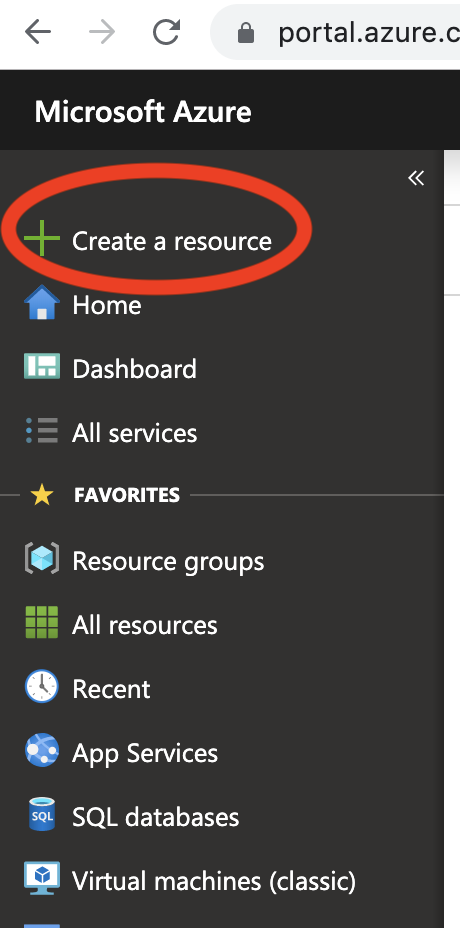
We open a browser, go to Azure portal and we select the item “Create a resource”:
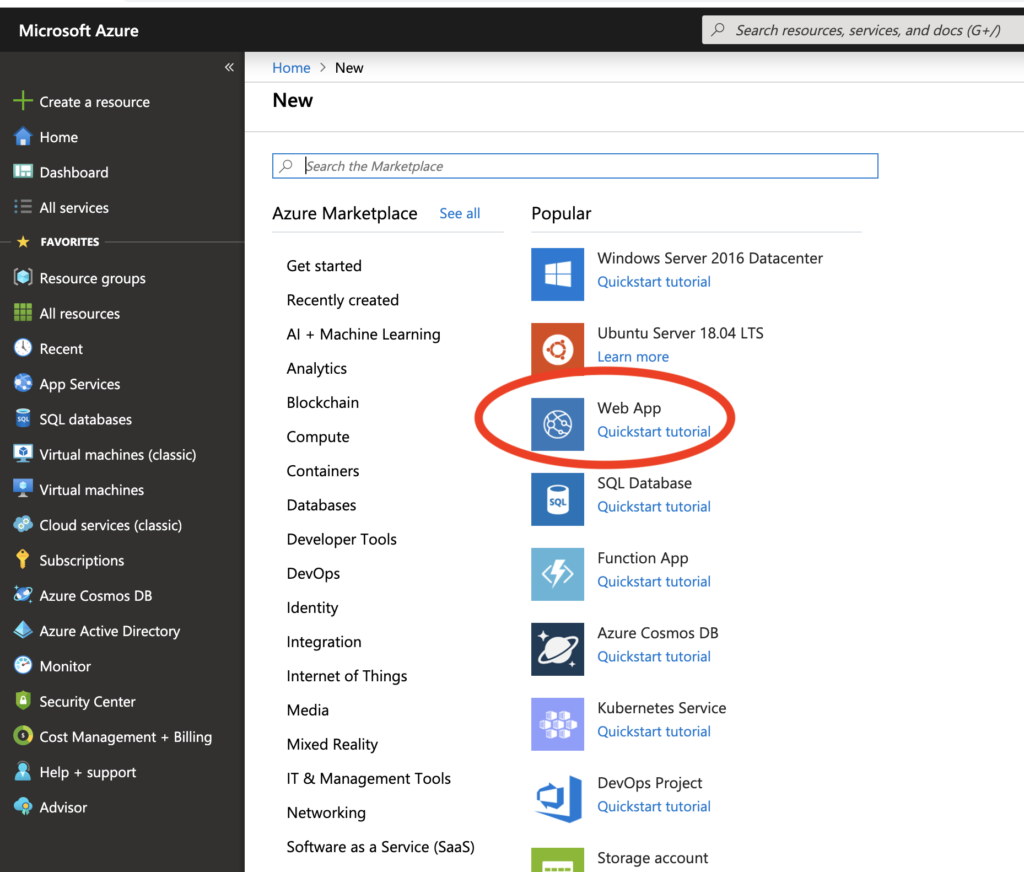
then, we select the resource “Web App”:
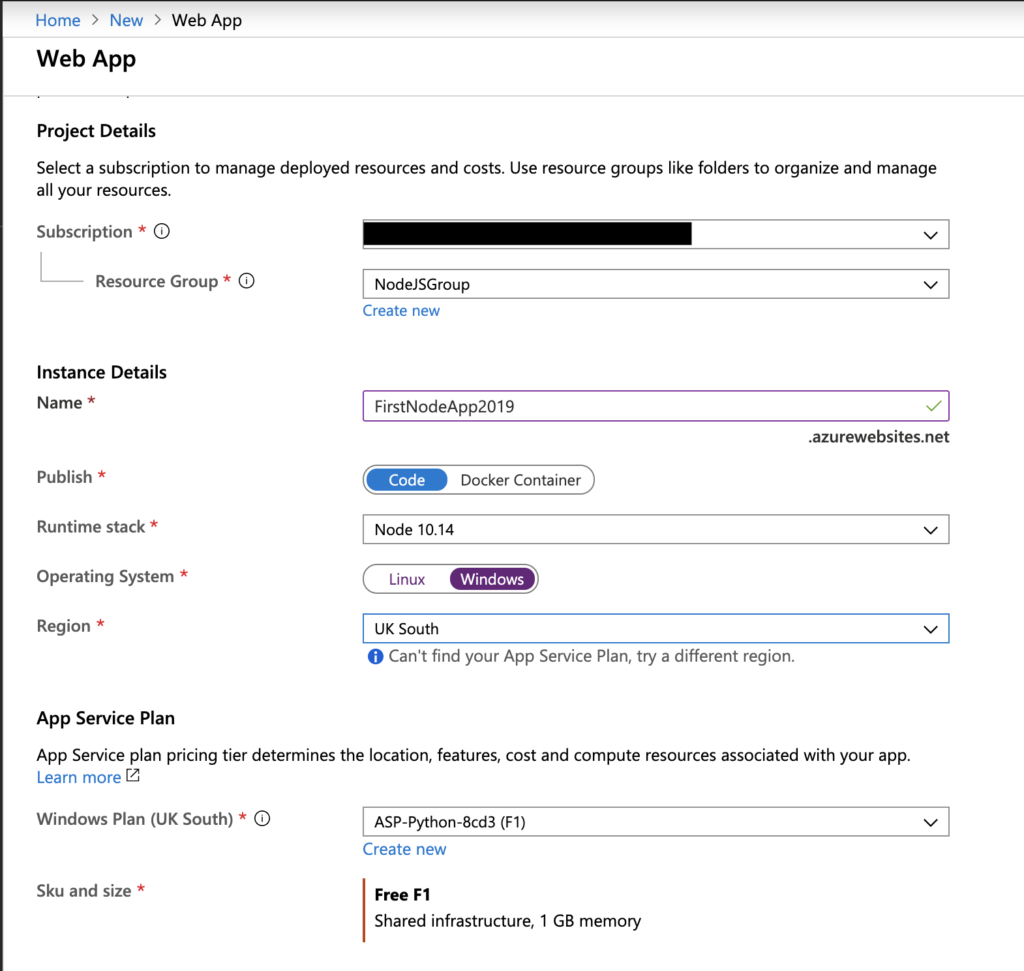
Now, we create the Web App using these parameters:
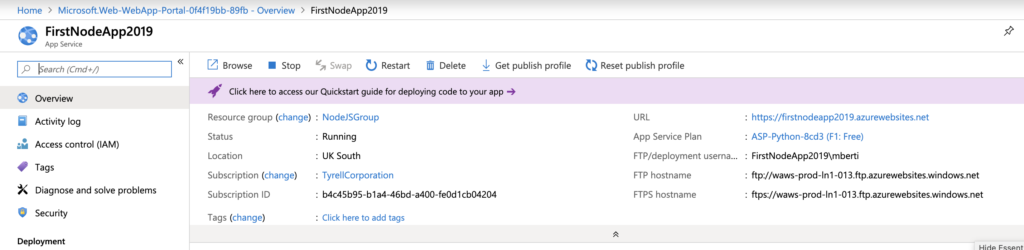
Finally, in order to create the Web App, we push on “Review + create” button and then on the “Create” button:
We have completed all steps in Azure and now, we will create our Node.js application.
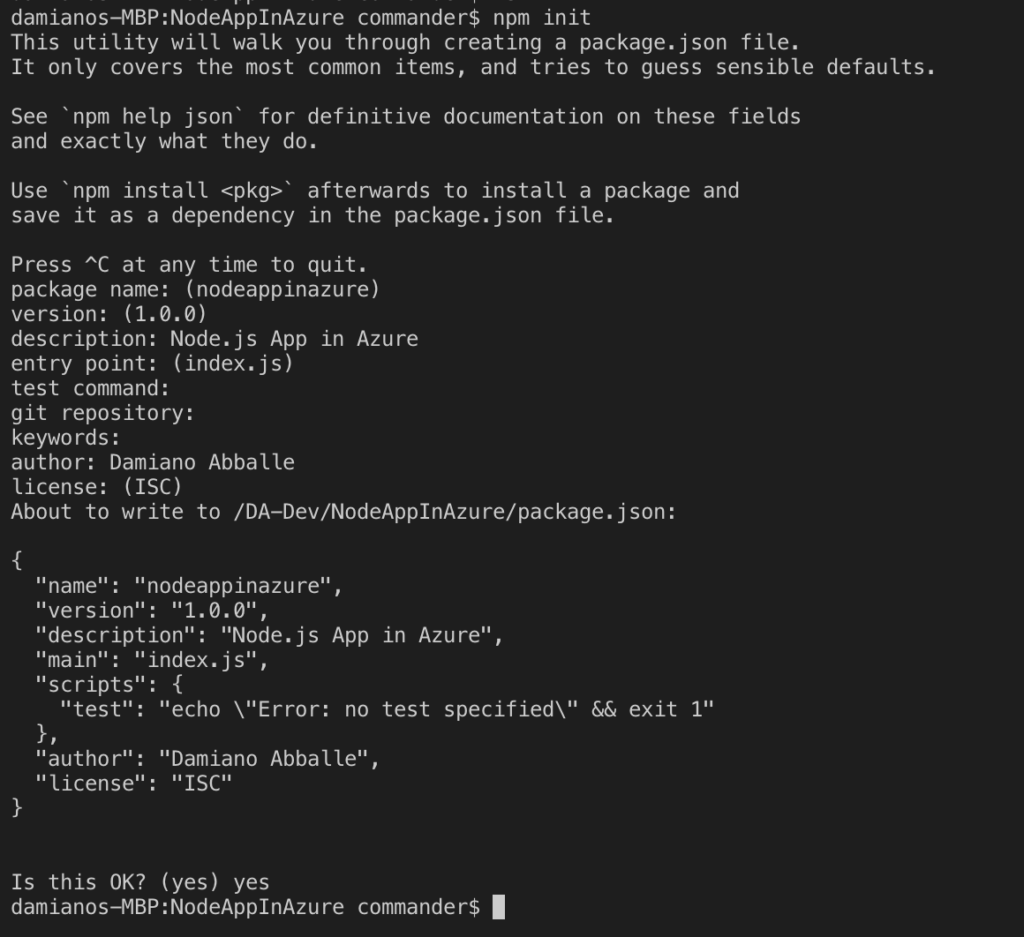
We create a folder called “NodeAppInAzure” and then, with the command npm init,
we will initialize a Node.js project:
Then we create a file called “index.js”:
[INDEX.JS]
1 2 3 4 5 6 7 8 9 10 11 12 13 14 15 16 17 18 19 20 21 22 23 24 25 26 27 28 29 30 31 32 33 34 35 | // import the module httpvar http = require('http');// we define the port using the environment variable called process.env.PORTvar port = process.env.PORT || 8080;// creation of the Servervar serverweb = http.createServer(function(request, response){ // definition of the status code to send at the header var codhead= 200; // definition of the output message var message = "The call was done from "; // with request.url it is possible to know the part of the url after domain switch (request.url) { case "/api": message = message + "API"; break; case "/test": message = message + "TEST"; break; case "/": message = message + "ROOT"; break; default: message = "This position isn't known"; codhead = 404; break; } // it sends a status code and information to the client response.writeHead(codhead, {"Content-Type": "text/html"}); // text shown in the page response.write("<b>" + message + "</b>"); response.end();}).listen(port); |
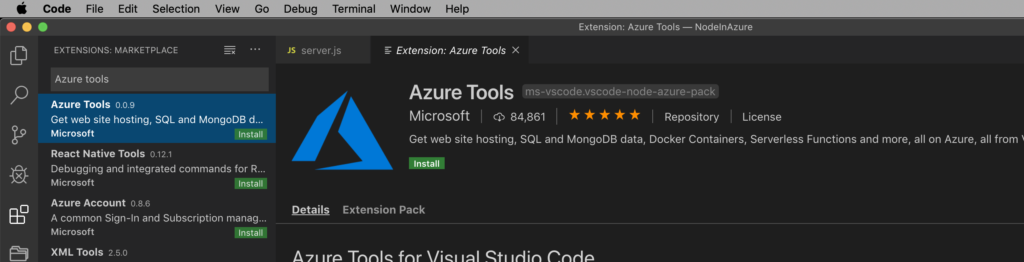
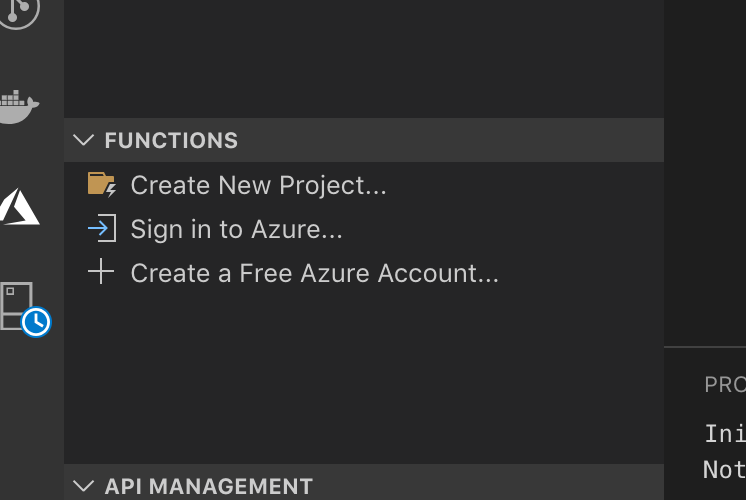
Finally, we save the file and then, we connect to Azure using the Azure Tools:
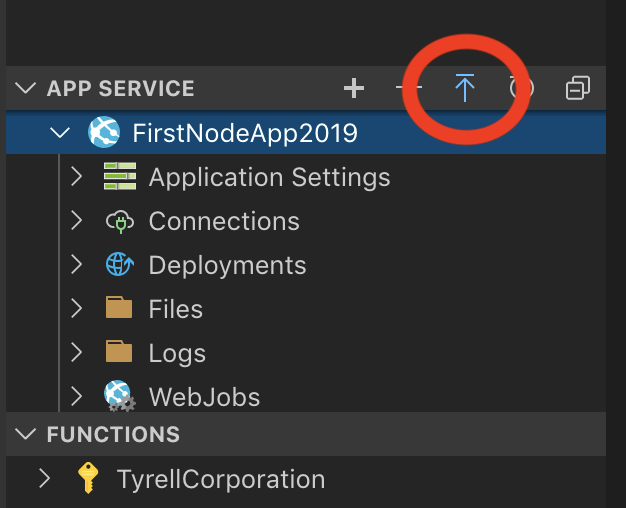
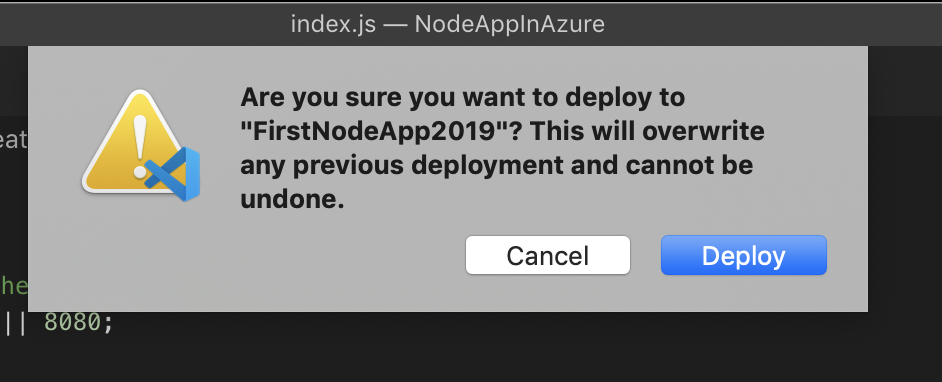
Now, we select the Web App created before and then, we select “Deploy to Web App”, in order to deploy our application in Azure:

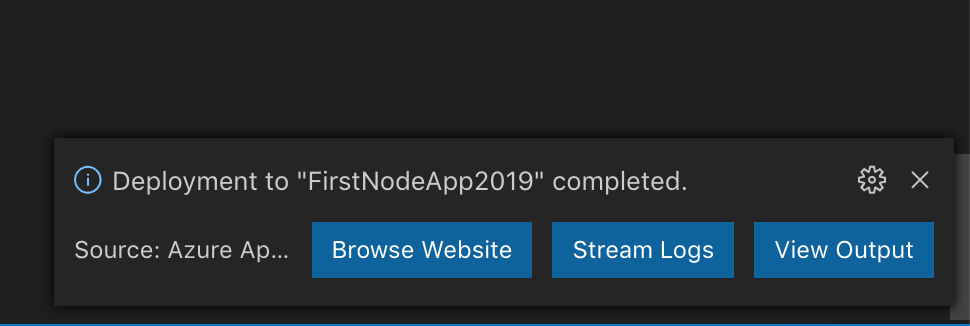
If we click on “Browse Website”, we will see our application running:


