From Apple Developer web site: “SwiftUI is an innovative, exceptionally simple way to build user interfaces across all Apple platforms with the power of Swift. Build user interfaces for any Apple device using just one set of tools and APIs. With a declarative Swift syntax that’s easy to read and natural to write, SwiftUI works seamlessly with new Xcode design tools to keep your code and design perfectly in sync. Automatic support for Dynamic Type, Dark Mode, localization, and accessibility means your first line of SwiftUI code is already the most powerful UI code you’ve ever written“.
In this post, we will see how to create a button and how to refresh the UI.
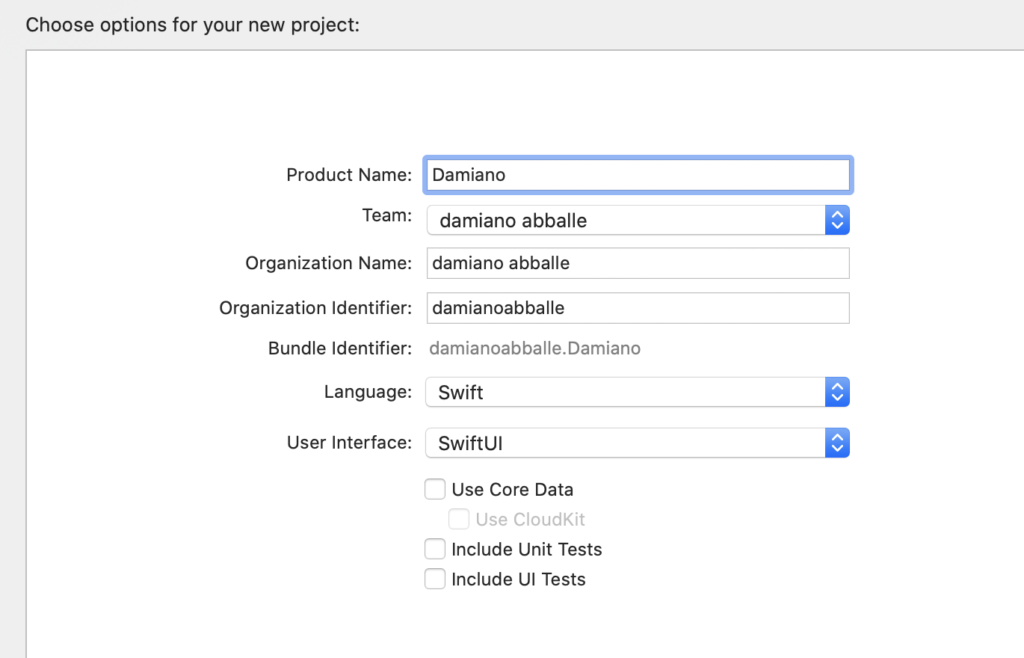
First of all we open Xcode, we create a Single View App and we select SwiftUI as User Interface:

Now, we add a variable called txtValue and we put it into a Text object:
1 2 3 4 5 6 7 8 9 10 11 12 13 14 15 | import SwiftUIvar txtValue: String = "Start"struct ContentView: View { var body: some View { Text(self.txtValue) }}struct ContentView_Previews: PreviewProvider { static var previews: some View { ContentView() }} |
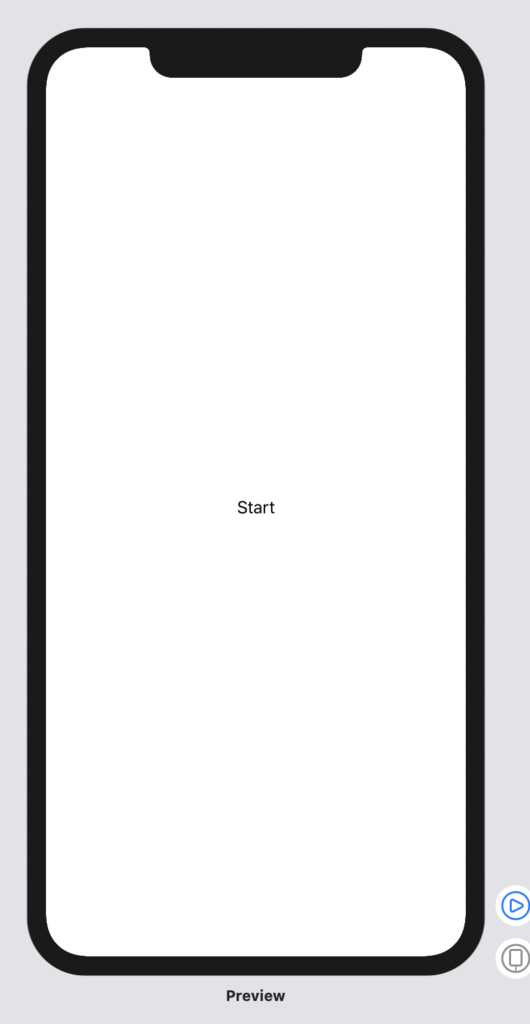
If we run the application, this will be the result:

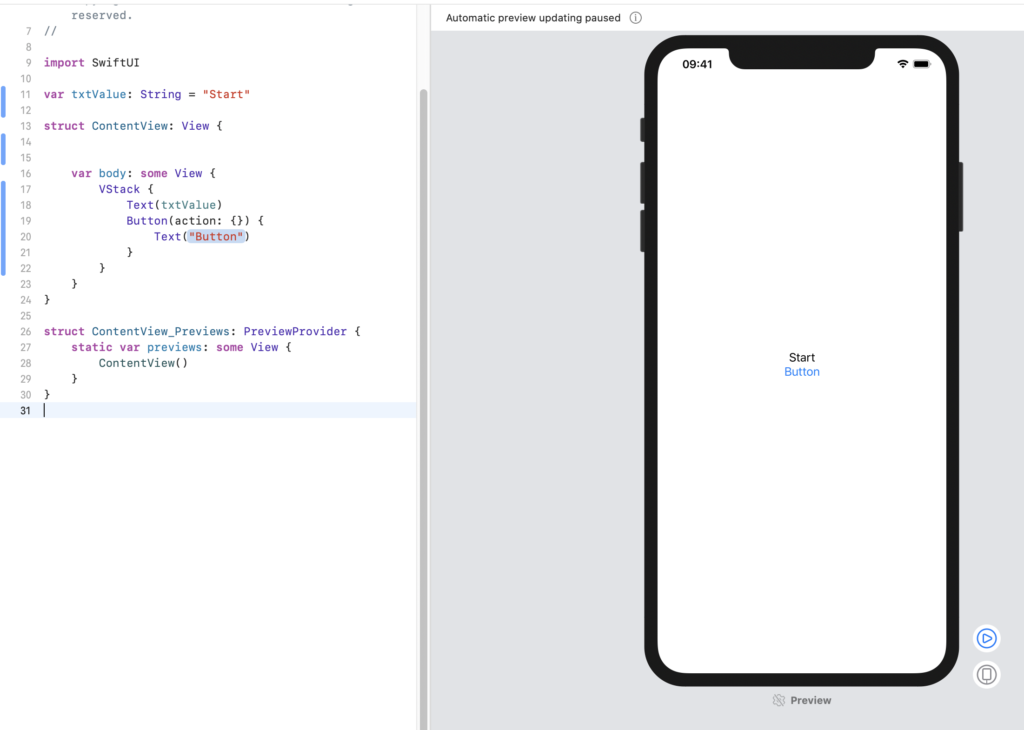
Now, we add a VStack object where we will put inside the previous Text object and a new Button object:

Now, we define a Button’s function called ChangeText, used to change the value of txtValue variable:
1 2 3 4 5 6 7 8 9 10 11 12 13 14 15 16 17 18 19 20 21 22 23 24 25 26 27 28 29 30 31 32 33 | import SwiftUIvar txtValue: String = "Start"func ChangeText(){ if (txtValue == "END") { txtValue = "START" } else{ txtValue = "END" }}struct ContentView: View { var body: some View { VStack { Text(txtValue) // we call the function using the Click event Button(action:ChangeText) { Text("Button") } } }}struct ContentView_Previews: PreviewProvider { static var previews: some View { ContentView() }} |
If we run the application, we will see that it doesn’t work!
What is the problem?
The problem is that the value of txtValue changes, but the layout is not refreshed.
In order to fix the problem, we have to add the key @State at the txtValue variable and moving it and the function ChangeText, inside the struct ContentViewNow.
With the key @State, we will ask at SwiftUI to monitor the value of the property and, when it will change, the View will be invalidated and it will be rendered.
1 2 3 4 5 6 7 8 9 10 11 12 13 14 15 16 17 18 19 20 21 22 23 24 25 26 27 28 29 30 31 | import SwiftUIstruct ContentView: View { @State private var txtValue: String = "Start" func ChangeText() { if (self.txtValue == "END") { self.txtValue = "START" } else{ self.txtValue = "END" } } var body: some View { VStack { Text(self.txtValue) Button(action:self.ChangeText) { Text("Button") } } }}struct ContentView_Previews: PreviewProvider { static var previews: some View { ContentView() }} |
Like!! Really appreciate you sharing this blog post.Really thank you! Keep writing.
Hey are using WordPress for your blog platform?
I’m new to the blog world but I’m trying to get started and create my own. Do you require any html coding expertise
to make your own blog? Any help would be really appreciated!
Yes, I use WordPress
Hey there! Someone in my Facebook group shared this site with us so I came to check it out.
I’m definitely enjoying the information. I’m bookmarking and will be tweeting this
to my followers! Wonderful blog and fantastic design.