In this post, we will see how to create a share directory using Azure Storage.
First of all, we open a browser, go to Azure portal and we create a Storage Account:
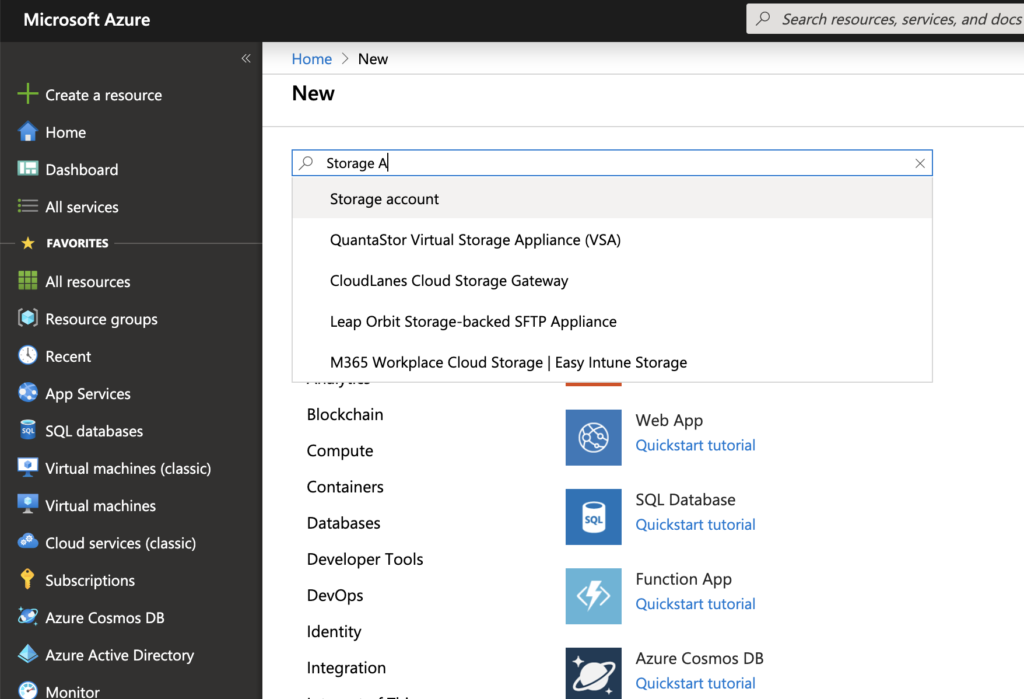
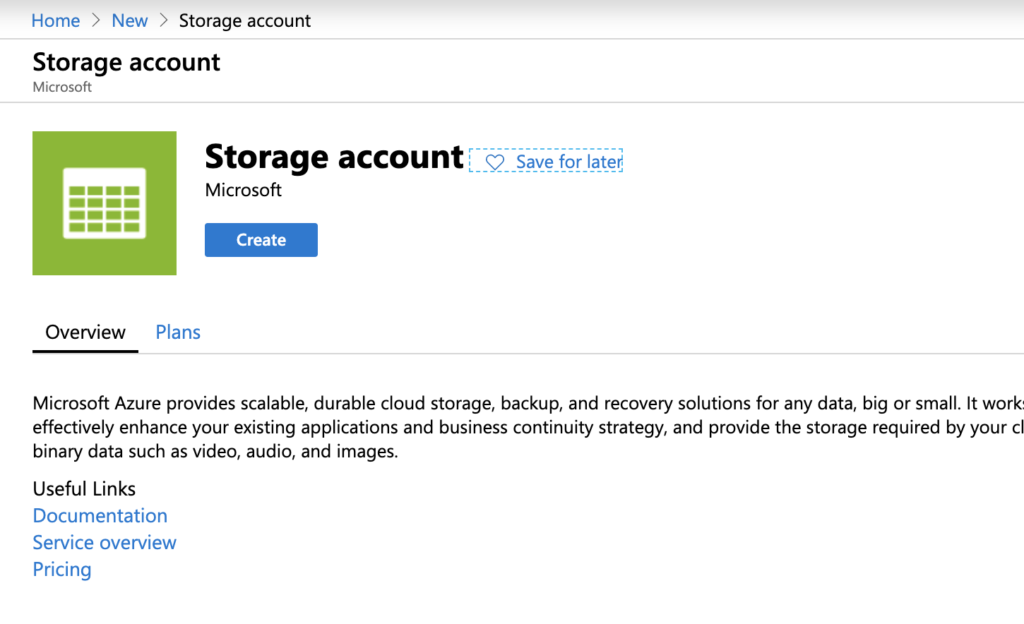
![](https://www.zoneofdevelopment.com/wp-content/uploads/2019/11/Screenshot-2019-11-19-at-23.32.41-1024x699.png)
Create the Account
![](https://www.zoneofdevelopment.com/wp-content/uploads/2019/11/Screenshot-2019-11-19-at-23.33.13-1024x624.png)
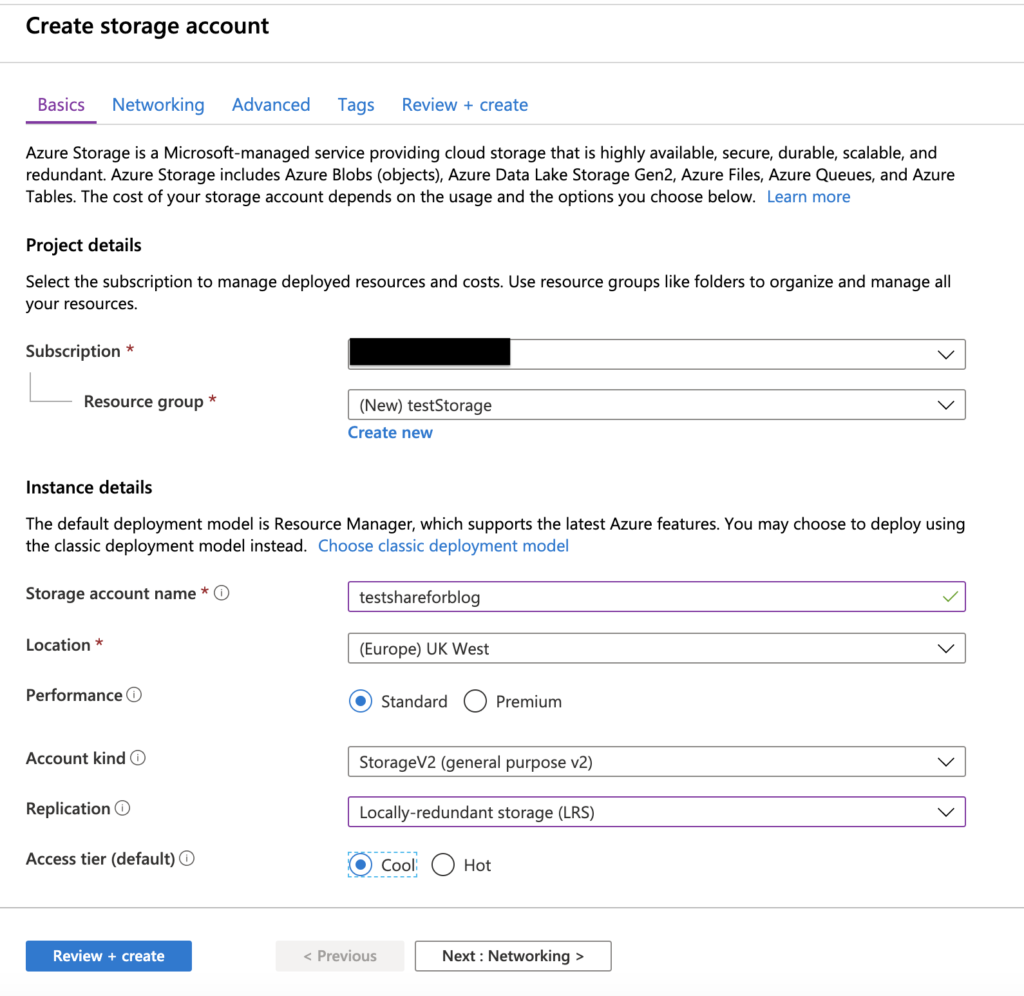
Insert all parameters
![](https://www.zoneofdevelopment.com/wp-content/uploads/2019/11/Screenshot-2019-11-19-at-23.34.03-1024x996.png)
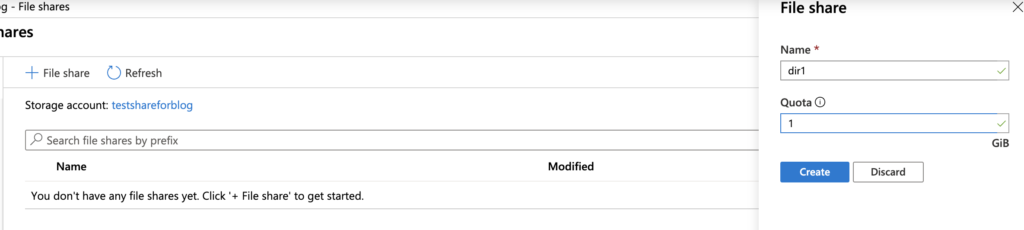
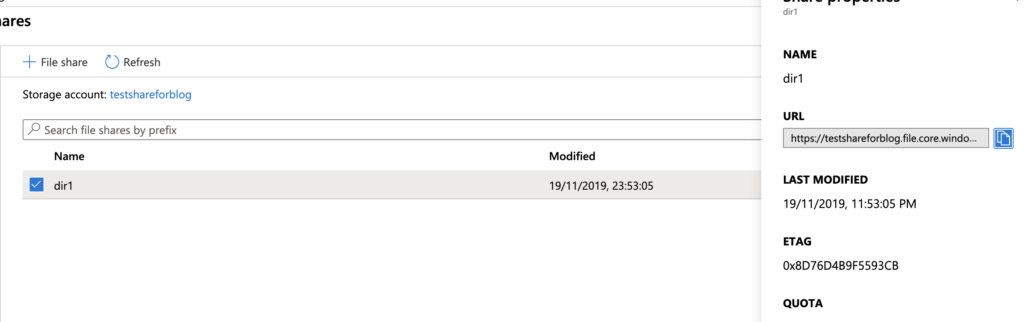
Now, we go to our account and we click on File shares
![](https://www.zoneofdevelopment.com/wp-content/uploads/2019/11/Screenshot-2019-11-19-at-23.39.31-1024x435.png)
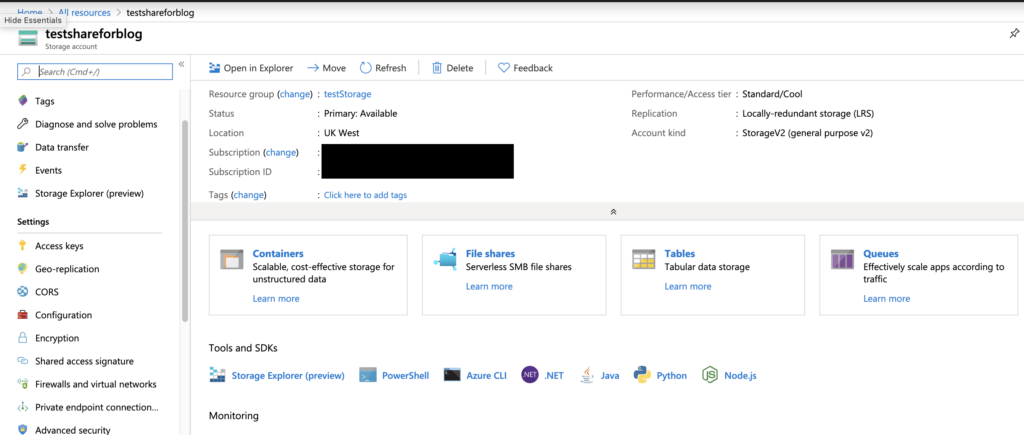
and then, we create a file share called dir1:
![](https://www.zoneofdevelopment.com/wp-content/uploads/2019/11/Screenshot-2019-11-19-at-23.43.30-1024x230.png)
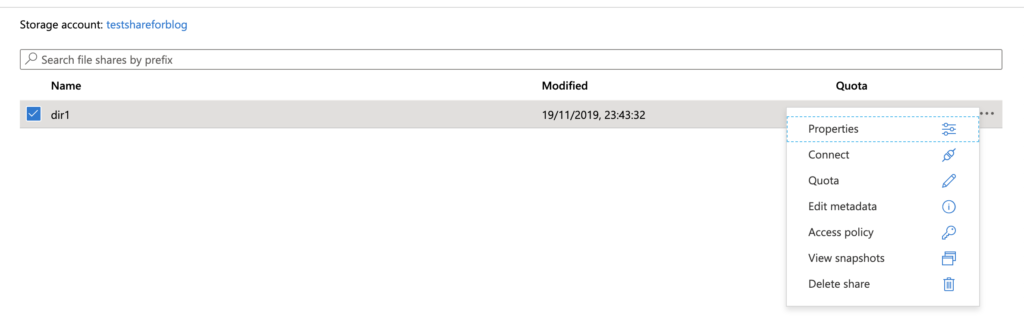
Now, we click on the context menu of the file share, we choice Access policy and we add our policy:
![](https://www.zoneofdevelopment.com/wp-content/uploads/2019/11/Screenshot-2019-11-19-at-23.47.38-1024x317.png)
Permissions
![](https://www.zoneofdevelopment.com/wp-content/uploads/2019/11/Screenshot-2019-11-19-at-23.49.26.png)
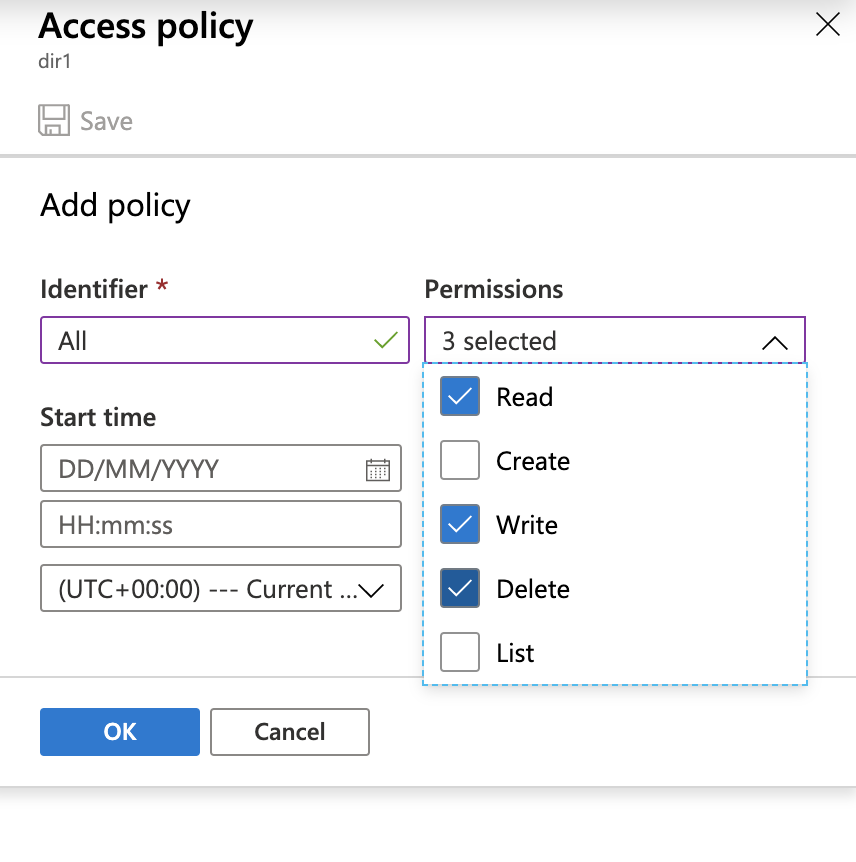
Define the period of the policy
![](https://www.zoneofdevelopment.com/wp-content/uploads/2019/11/Screenshot-2019-11-19-at-23.49.42.png)
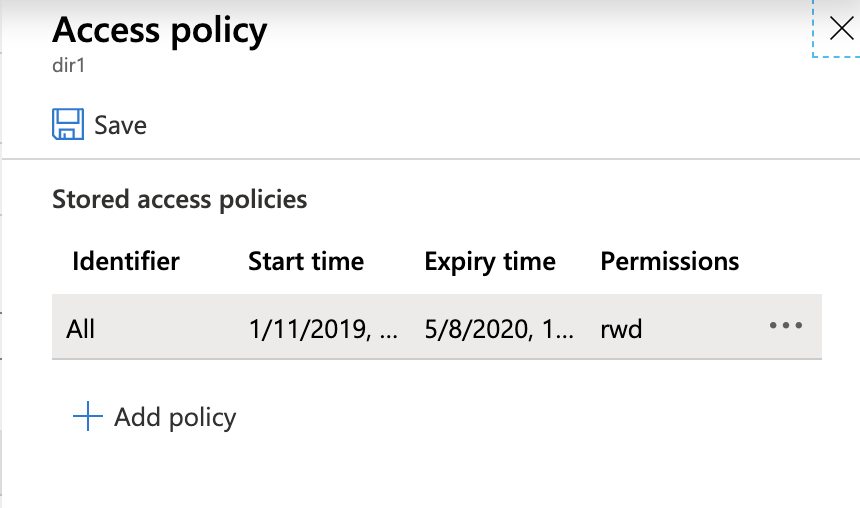
Finally, we click on Save:
![](https://www.zoneofdevelopment.com/wp-content/uploads/2019/11/Screenshot-2019-11-19-at-23.52.30.png)
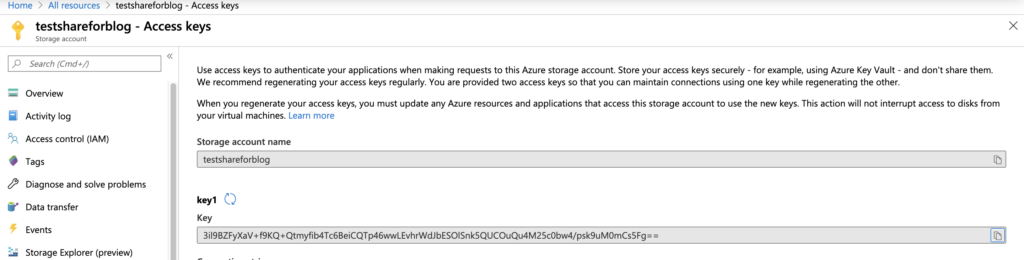
The last thing to do, is going to the storage account and save the value of Storage Account Name and the Key, that we will use for the connection.
![](https://www.zoneofdevelopment.com/wp-content/uploads/2019/11/Screenshot-2019-11-20-at-00.08.58-1024x260.png)
How to connect a client to a Azure File Share
For this post, I will use my Mac to connect to the Azure File Share.
Here, it is possible to find all steps to connect a Windows system with Azure File Share.
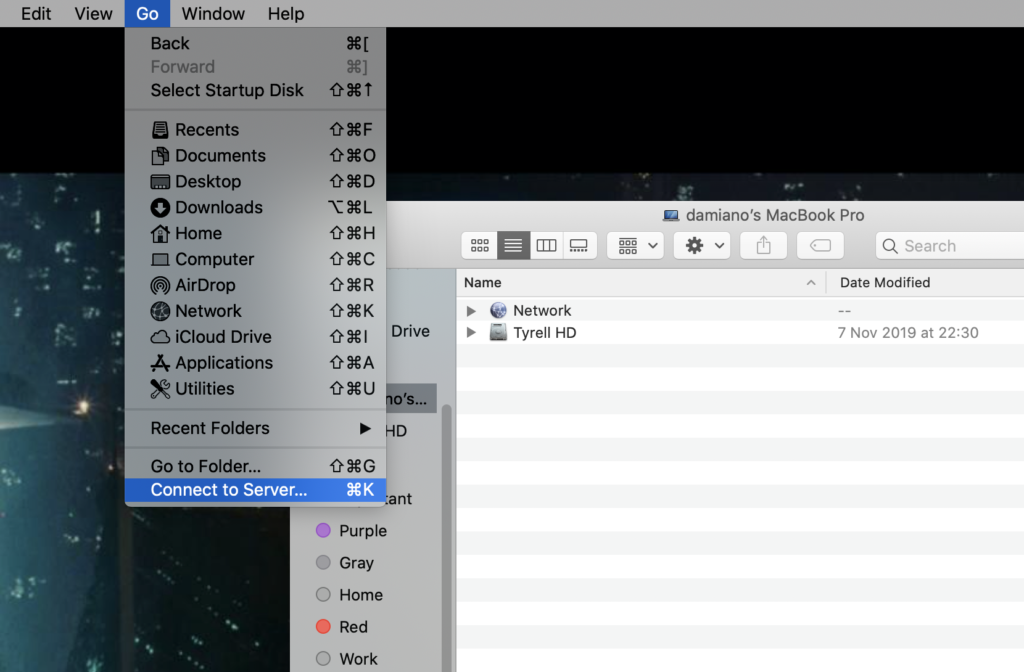
First of all, we open Finder, click on the menu item Go and then Connect to Server:
![](https://www.zoneofdevelopment.com/wp-content/uploads/2019/11/Screenshot-2019-11-20-at-00.03.55-1024x672.png)
Here, we have to put the URL value that we can find in the property of the File Share, changing https with smb:
![](https://www.zoneofdevelopment.com/wp-content/uploads/2019/11/Screenshot-2019-11-20-at-00.04.57-1024x322.png)
![](https://www.zoneofdevelopment.com/wp-content/uploads/2019/11/Screenshot-2019-11-20-at-00.06.32-1024x541.png)
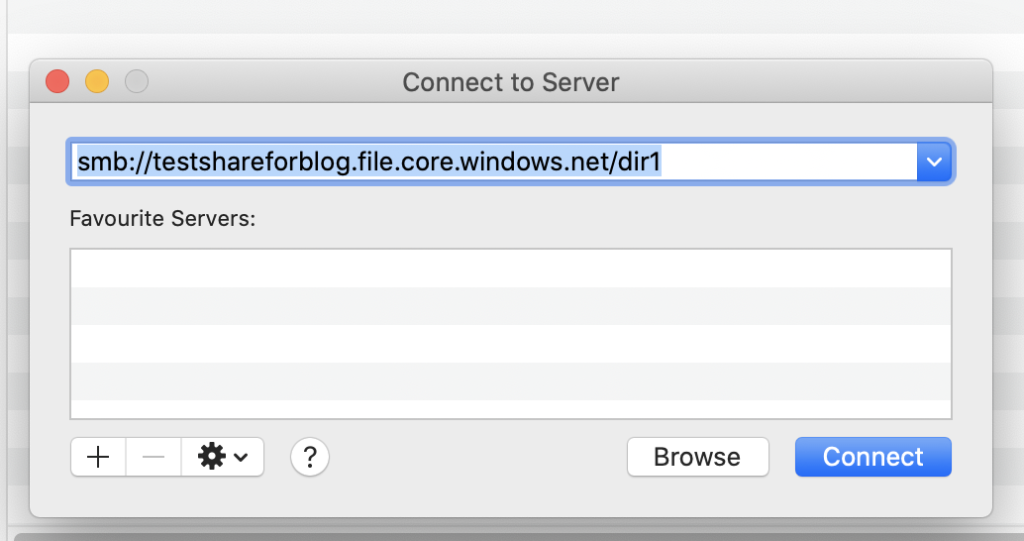
Click on Connect and then we insert the Storage Account Name and the Key:
![](https://www.zoneofdevelopment.com/wp-content/uploads/2019/11/Screenshot-2019-11-20-at-00.07.52.png)
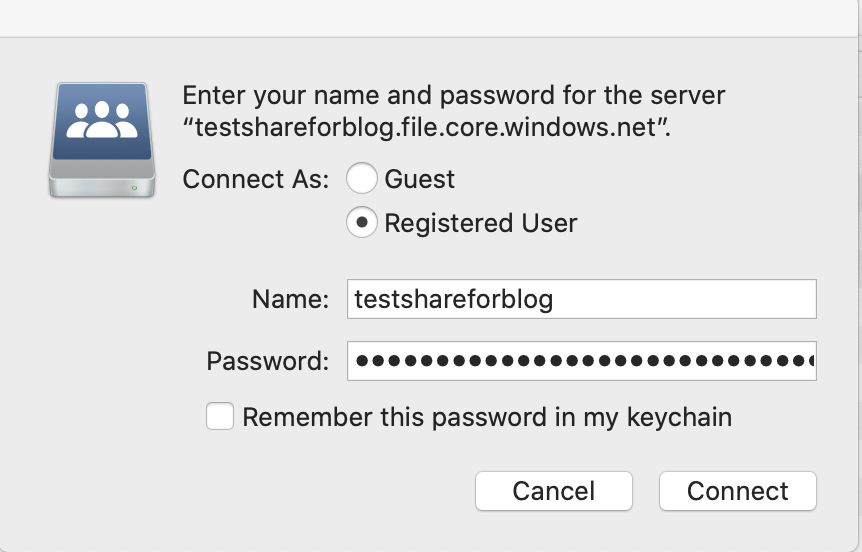
We click on Connect in order to connect our Mac with the File Share:
![](https://www.zoneofdevelopment.com/wp-content/uploads/2019/11/Screenshot-2019-11-20-at-00.10.46-1024x249.png)