In this post, we will see how to install and configure MySQL on Windows.
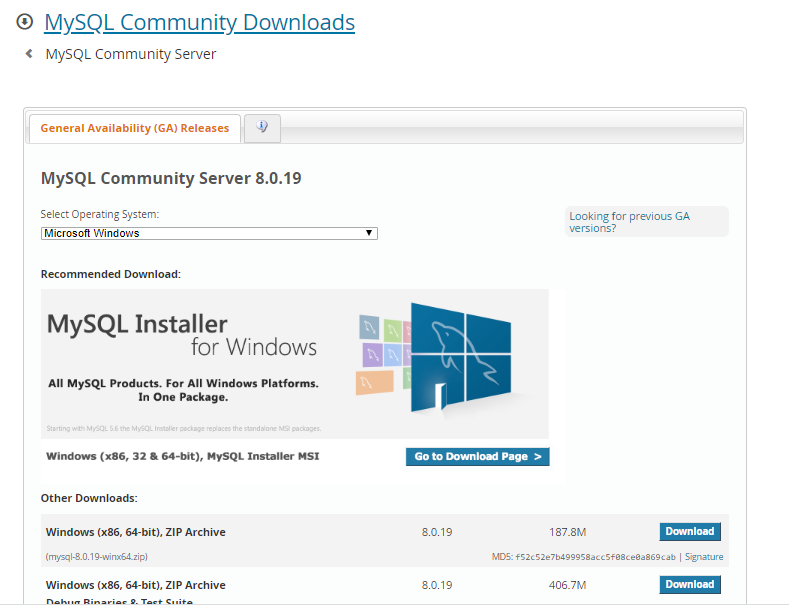
We open a browser, go to https://dev.mysql.com/downloads/mysql/ and we download the latest version of MySQL (we select MySQL Installer MSI):
Then, we double click on the MSI file for starting the installation:
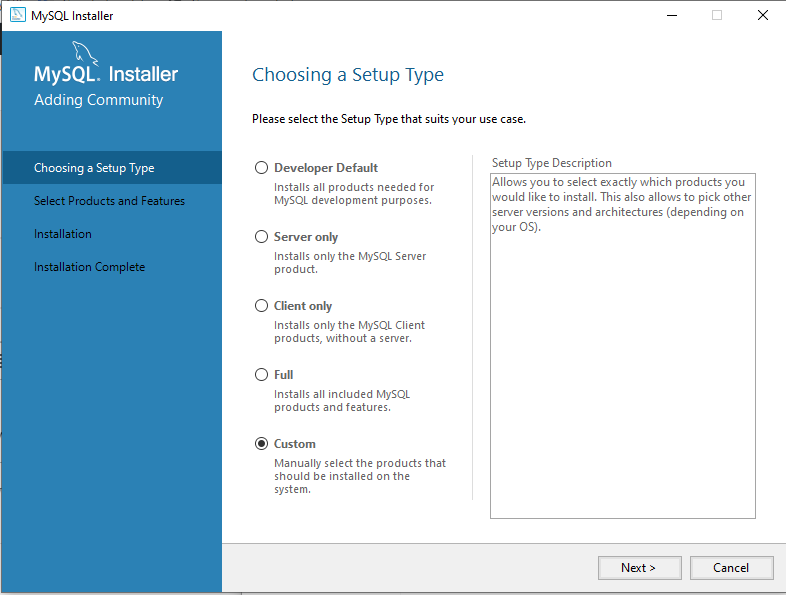
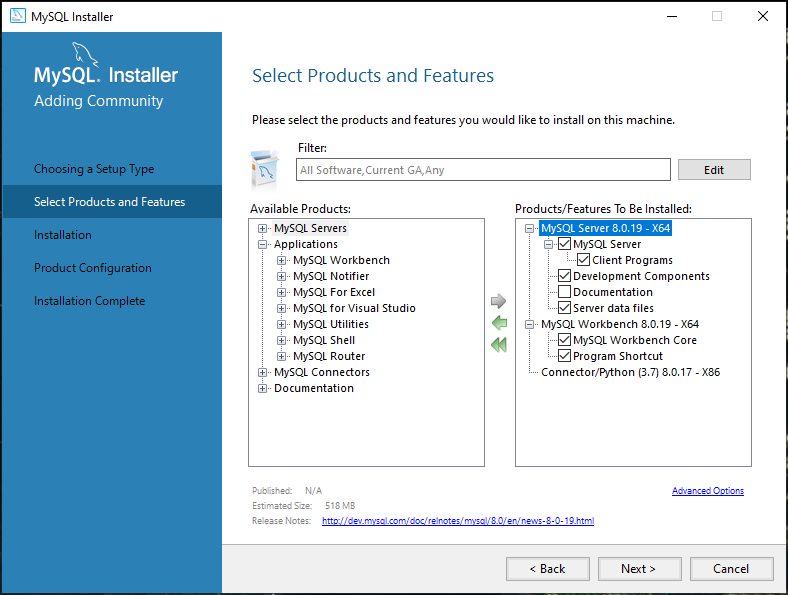
Now, we select the Custom installation:
and then, we select MySQL Server, Workbench and the Python connector:
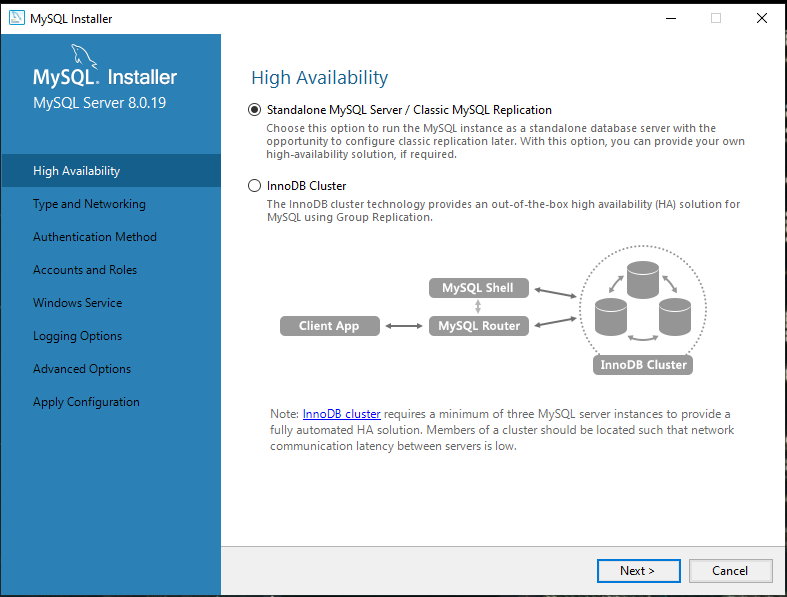
We select the Standalone MySQL Server:
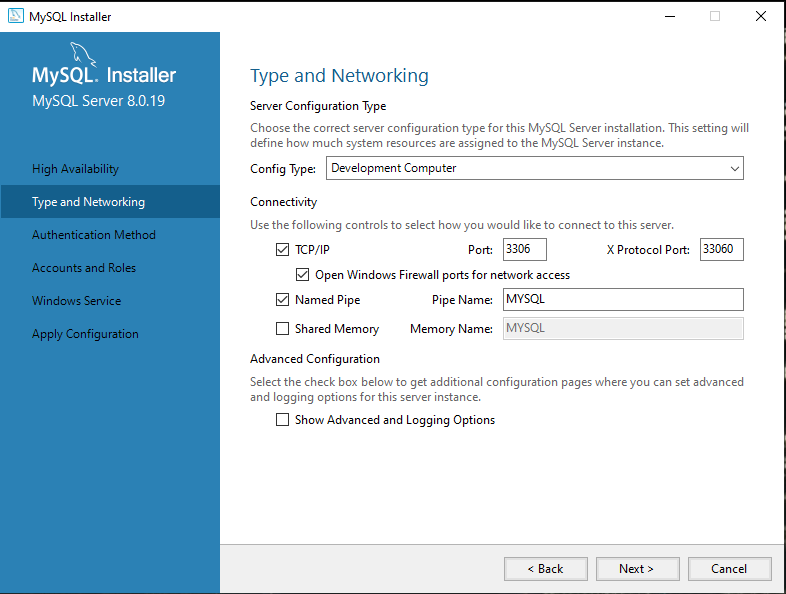
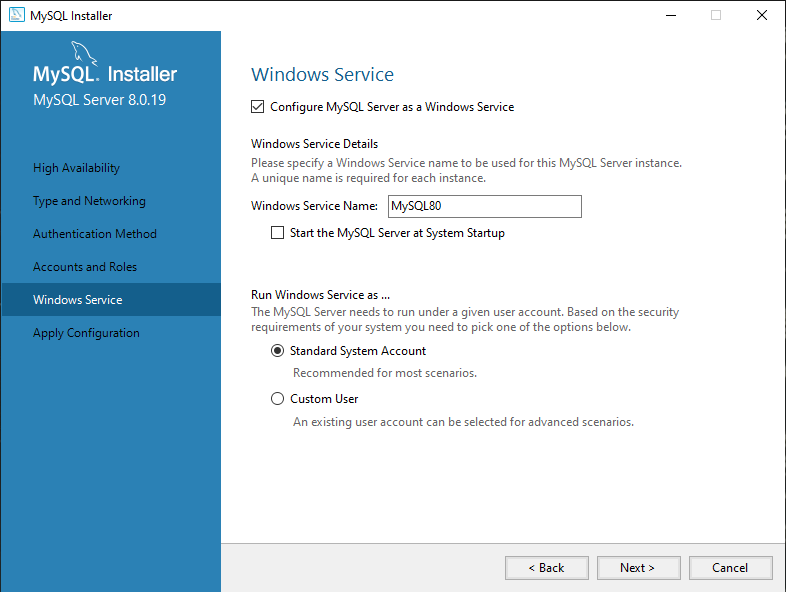
and finally, we configure some parameters:
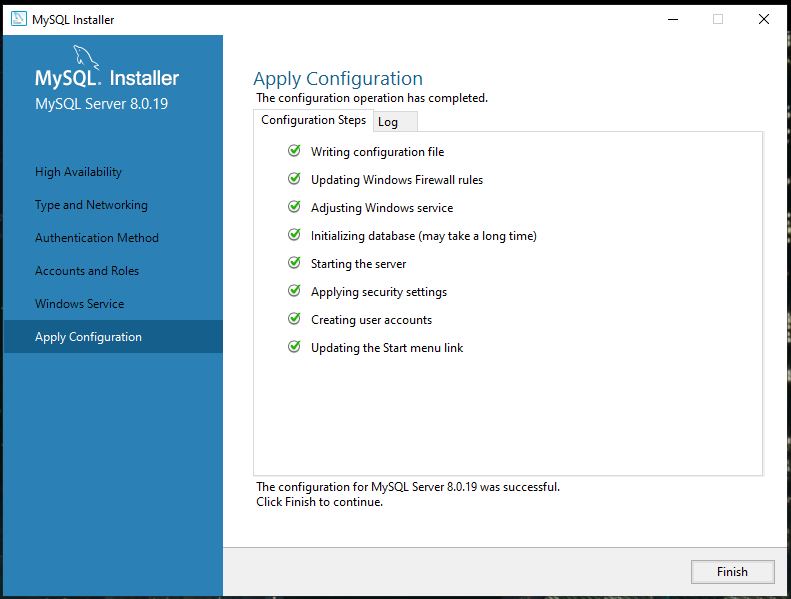
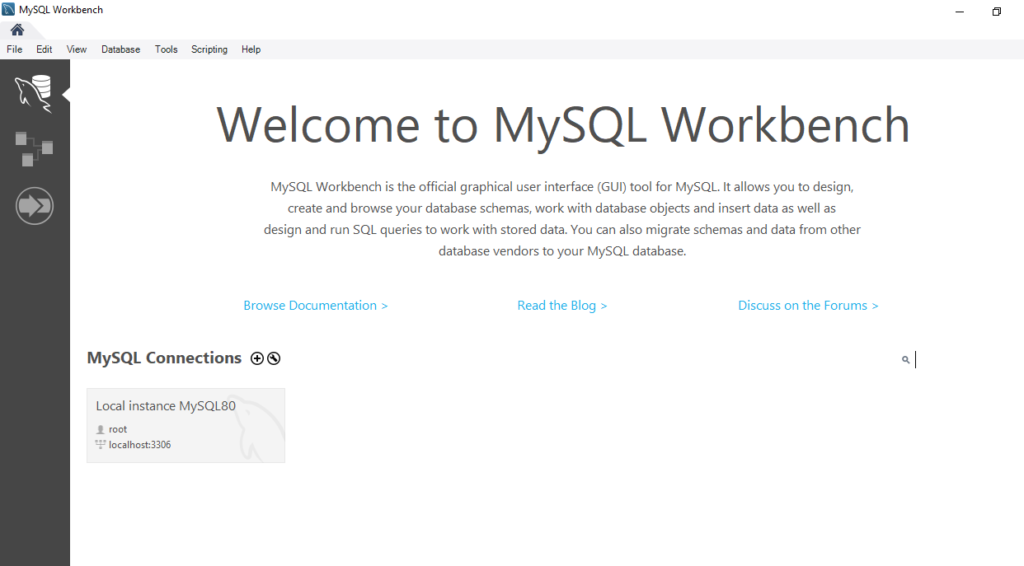
We have done and now, we can run MySQL Workbench: