In this post, we will see how to Dockerize an Angular application and how to deploy it in Docker Hub.
ANGULAR PROJECT:
We start creating a new Angular project called “AngularDockerUI” with three components:
ng new AngularDockerUI
ng g c share/menu
ng g c share/homepage
ng g c pages/pagelist
Finally, we install Bootstrap using the command npm install bootstrap and then, we add bootstrap.min.css into the file src/styles.cs:
@import ‘~bootstrap/dist/css/bootstrap.min.css’
Now, we open src/app/app-routing.module.ts and we modify the app-routing:
[APP-ROUTING.MODULE.TS]
1 2 3 4 5 6 7 8 9 10 11 12 13 14 15 16 17 | import { NgModule } from '@angular/core';import { Routes, RouterModule } from '@angular/router';import { PagelistComponent } from './pages/pagelist/pagelist.component';import { HomepageComponent } from './share/homepage/homepage.component';const routes: Routes = [ { path: '', pathMatch: 'full', redirectTo: 'homepage'}, { path: 'homepage', component: HomepageComponent }, { path: 'list', component: PagelistComponent }, { path: '**', pathMatch: 'full', redirectTo: 'homepage' } ];@NgModule({ imports: [RouterModule.forRoot(routes)], exports: [RouterModule]})export class AppRoutingModule { } |
Then, we open src/app/share/menu/menu.component.html and we add a menu:
[MENU.COMPONENT.HTML]
1 2 3 4 5 6 7 8 | <nav class="navbar navbar-dark bg-dark mb-5"> <a class="navbar-brand" routerLink="homepage">HOMEPAGE</a> <div class="navbar-expand mr-auto"> <ul class="nav navbar-nav" routerLinkActive="active"> <li class="nav-item"><a class="nav-link" routerLink="/list">Page List</a></li> </ul> </div></nav> |
Finally, we open src/app/app.component.html and we add here the component menu:
[APP.COMPONENT.HTML]
1 2 | <app-menu></app-menu><router-outlet></router-outlet> |
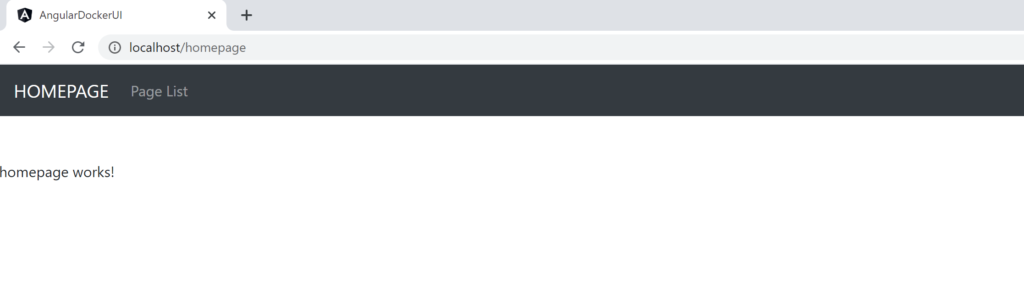
If we run the application, this will be the result:
Now, we add a class called user:
[USER.TS]
1 2 3 4 5 6 7 8 9 10 11 12 13 14 | export class User { id: number; userName: string; typeUser: string; creationDate: string; constructor(inputId: number, inputUserName: string, inputTypeUser: string, inputCreationDate: string) { this.id = inputId; this.userName = inputUserName; this.typeUser = inputTypeUser; this.creationDate = inputCreationDate; }} |
Then, we add a service called core, using the command ng g service services/core, where we will add a function to give the list of Users:
1 2 3 4 5 6 7 8 9 10 11 12 13 14 15 16 17 18 19 20 21 22 23 24 25 26 27 28 29 30 31 32 33 34 35 | import { Injectable } from '@angular/core';import { User } from '../entities/user';@Injectable({ providedIn: 'root'})export class CoreService { constructor() { } GetAllUsers(): Array<User>{ let lstUsers: Array<User> = []; for(var counter:number = 1; counter<3; counter++) { var objUser = new User(counter, "UserAdmin"+counter, "Admin", "06/06/2019"); lstUsers.push(objUser); } for(var counter:number = 4; counter<7; counter++) { var objUser = new User(counter, "UserReader"+counter, "Reader", "12/02/2019"); lstUsers.push(objUser); } for(var counter:number = 10; counter<14; counter++) { var objUser = new User(counter, "UserTest"+counter, "Test", "21/04/2019"); lstUsers.push(objUser); } return lstUsers };} |
Finally, we modify the file pagelist.component, in order to display the list of Users:
[PAGELIST.COMPONENT.TS]
1 2 3 4 5 6 7 8 9 10 11 12 13 14 15 16 17 18 19 | import { Component, OnInit } from '@angular/core';import { CoreService } from '../../services/core.service';import { User } from '../../entities/user';@Component({ selector: 'app-pagelist', templateUrl: './pagelist.component.html', styleUrls: ['./pagelist.component.css']})export class PagelistComponent implements OnInit { lstUsers: User[]; constructor(private coreservice: CoreService) { } ngOnInit(): void { this.lstUsers = this.coreservice.GetAllUsers(); }} |
[PAGELIST.COMPONENT.HTML]
<p>List of Users</p>
<table class="table">
    <thead>
      <tr>
        <th scope="col">#</th>
        <th scope="col">Id</th>
        <th scope="col">Username</th>
        <th scope="col">TypeUser</th>
        <th scope="col">Creation Date</th>
      </tr>
    </thead>
    <tbody *ngFor="let item of lstUsers; index as i">
      <tr>
        <td>{{i+1}}</td>
        <td>{{item.id}}</td>
        <td>{{item.userName}}</td>
        <td>{{item.typeUser}}</td>
        <td>{{item.creationDate}}</td>
      </tr>
    </tbody>
  </table>
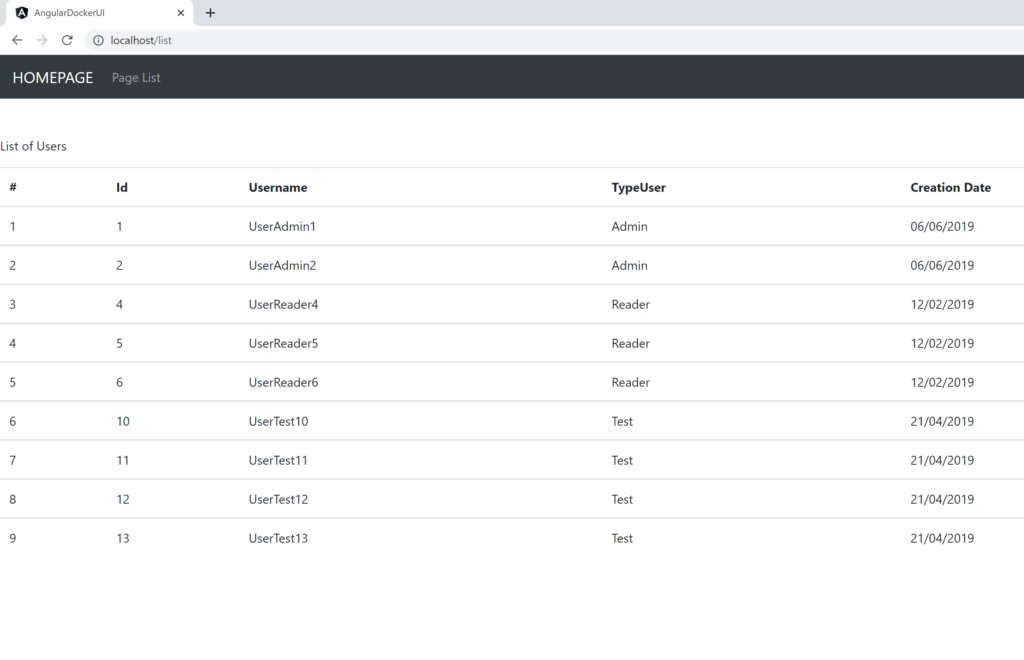
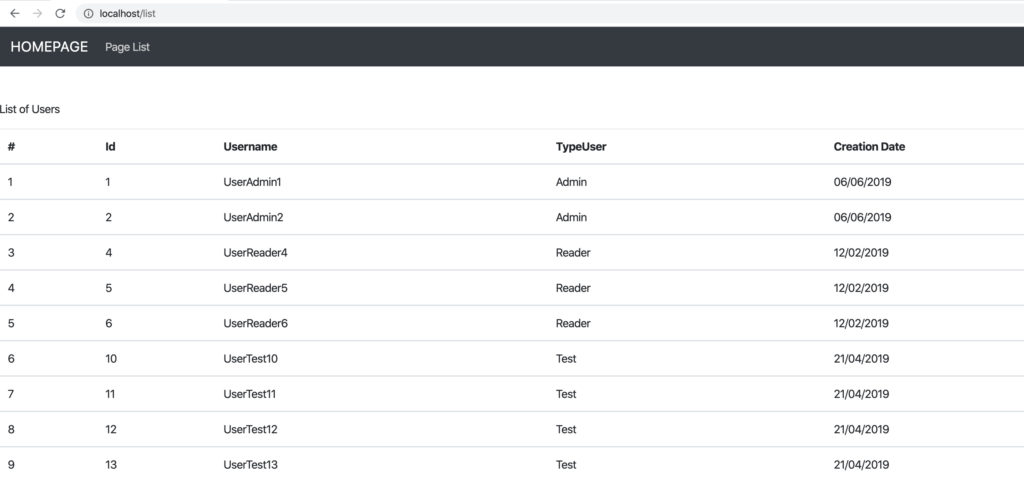
Now, if we run the application, this will be the result:
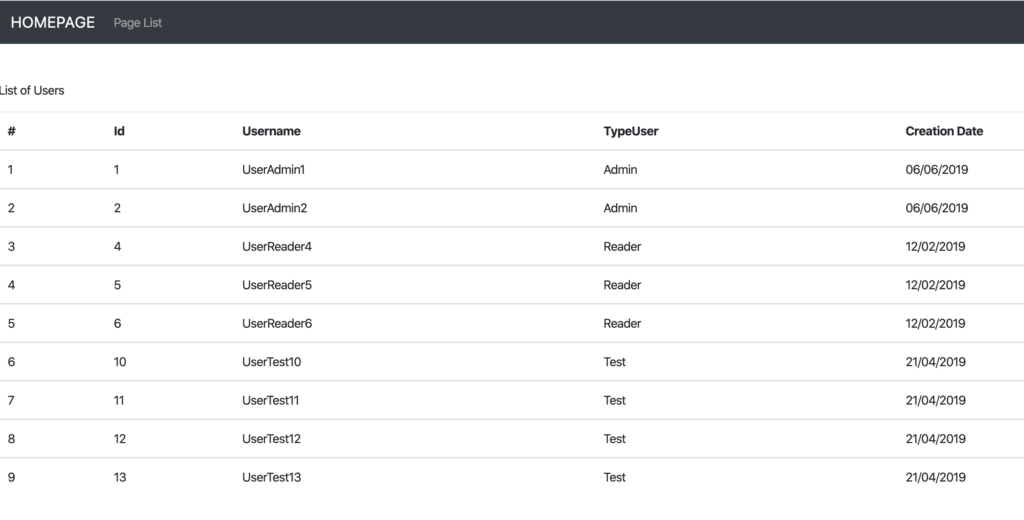
Everything works fine and now, we will Dockerize this application.
DOCKERIZE THE ANGULAR PROJECT:
First of all, I advice to install a useful plug-in for Visual Studio Code, called Docker, that it will help us to create and manage containerized applications:
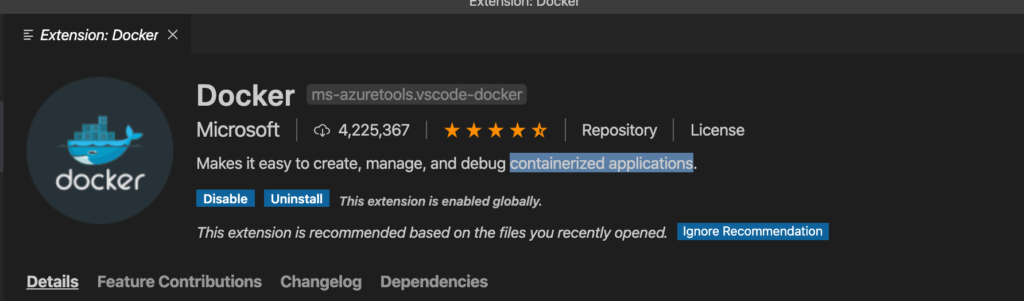
After the installation, we start creating a Dockerfile into the Angular project:
[DOCKERFILE]
1 2 3 4 5 6 7 8 9 10 11 12 | # We use a node.js container to build our application# We call this contanier 'node'FROM node:latest as nodeWORKDIR /appCOPY . .RUN npm installRUN npm run build --prod# We move our builded application into a nginx containerFROM nginx:alpine# we can take the value of our "outputPath" into angular.json fileCOPY --from=node /app/dist/AngularDockerUI /usr/share/nginx/html |
Now, we click the right mouse button and we select the option “Command Palette” and then, we run the Docker command Images build:

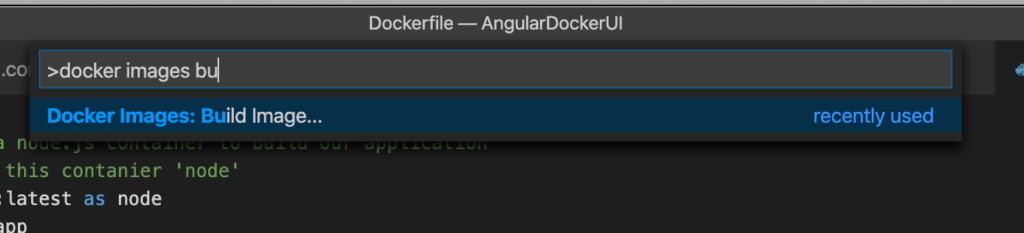
We insert the name and the tag of our image:

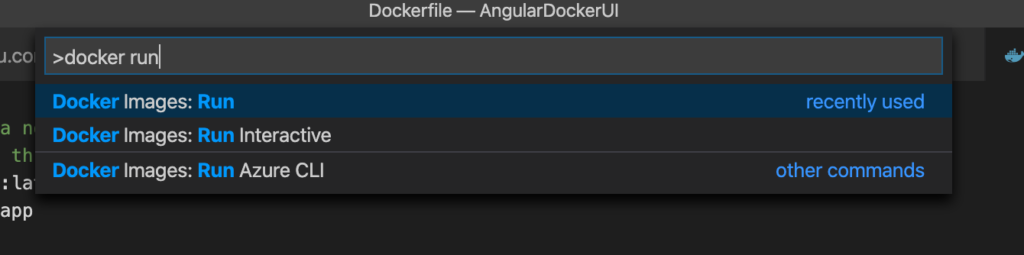
and finally, we press Enter in order to create our Docker image:

Then, in order to verify everything worked fine, we will run our Docker image:

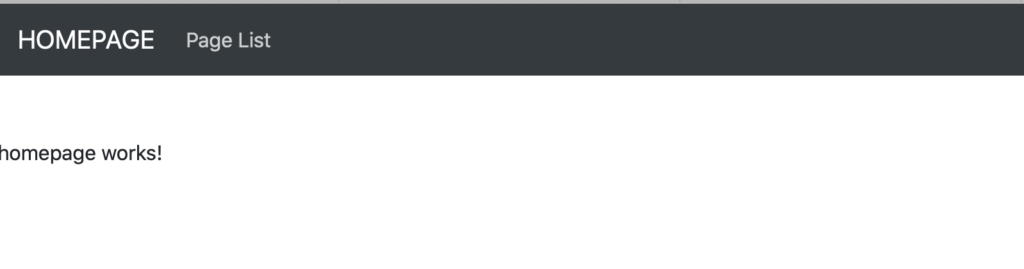
Now, if we open e browser and we go to http://localhost, this will be the result:
UPLOAD DOCKER IMAGE ON DOCKER HUB:
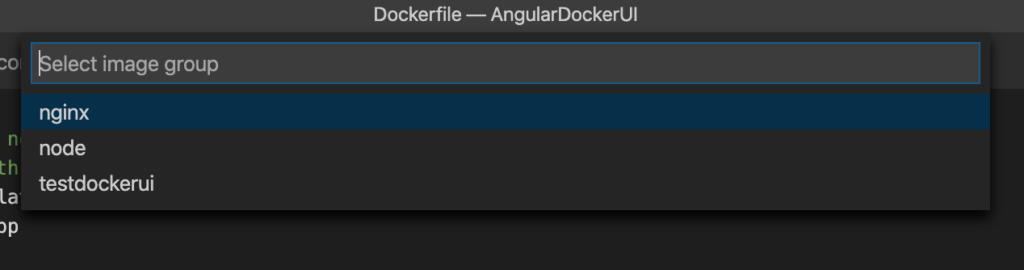
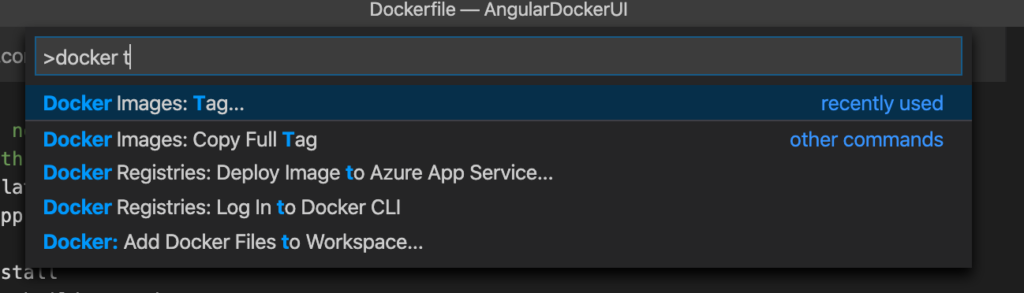
First of all, we run the Docker command Images Tag:
It is important to add our Docker Hub UserId into the Tag image:

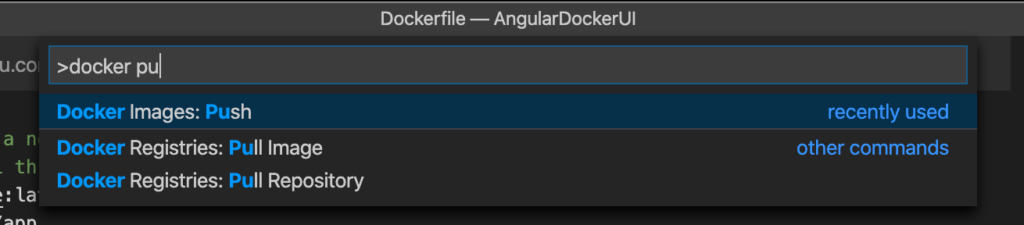
Now, we push the image into Docker Hub, using the Docker command Images Push:
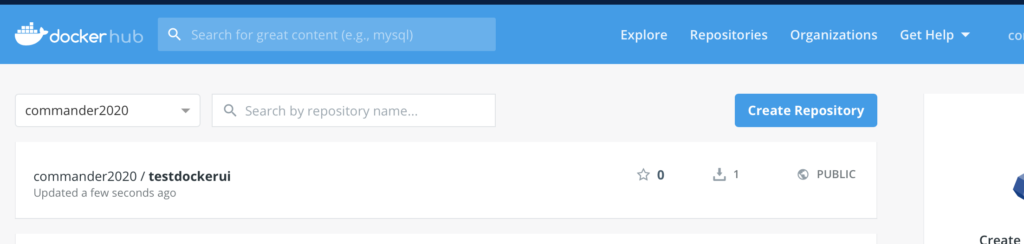
When the process is over, we will see the new image into our Docker Hub:
RUN THE ANGULAR DOCKER IMAGE IN ANOTHER COMPUTER:
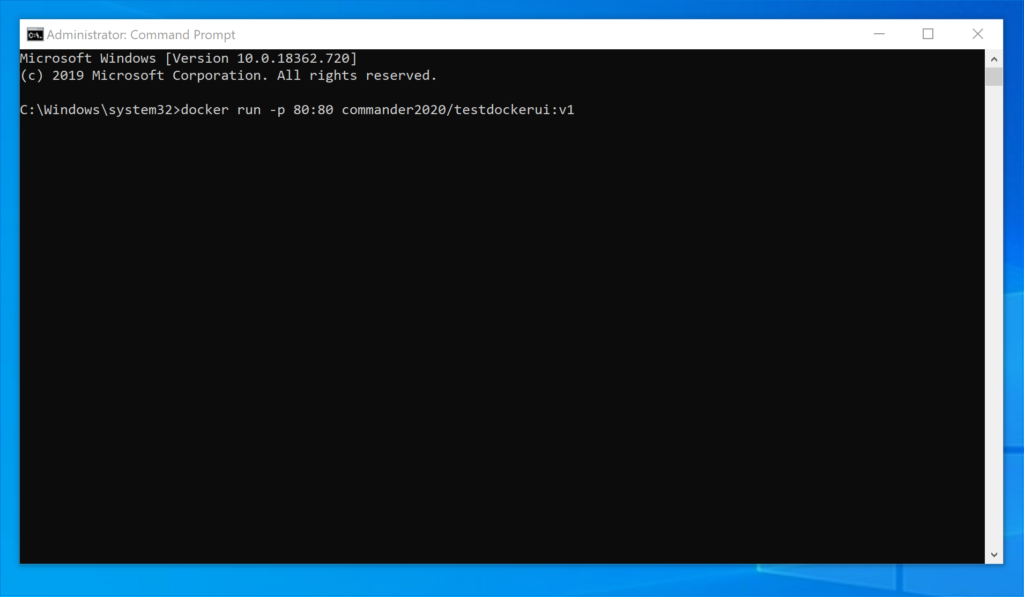
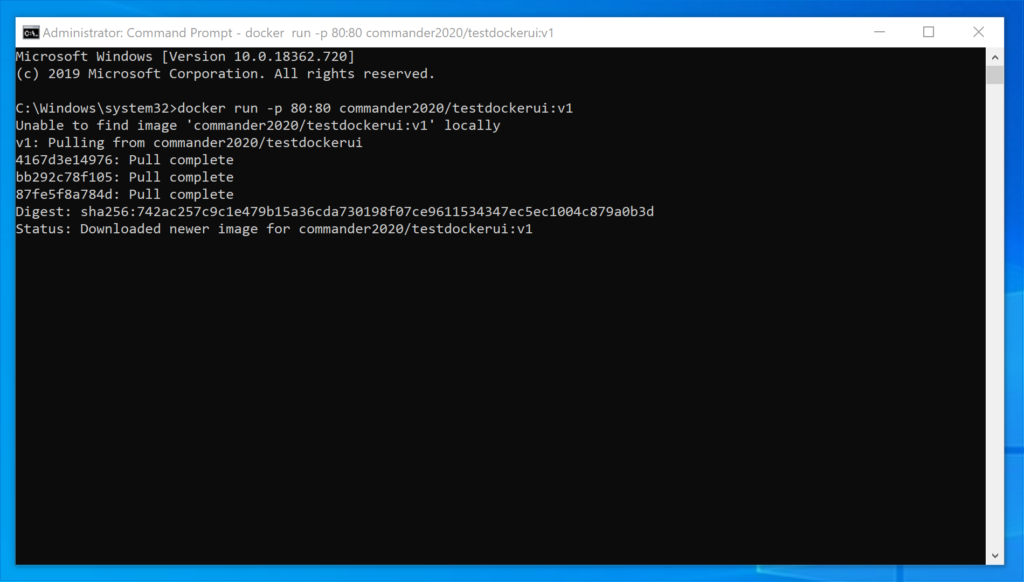
In order to verify everything works fine, we will run our new Docker image in another computer, using the command
docker run -p 80:80 commander2020/testdockerui:v1
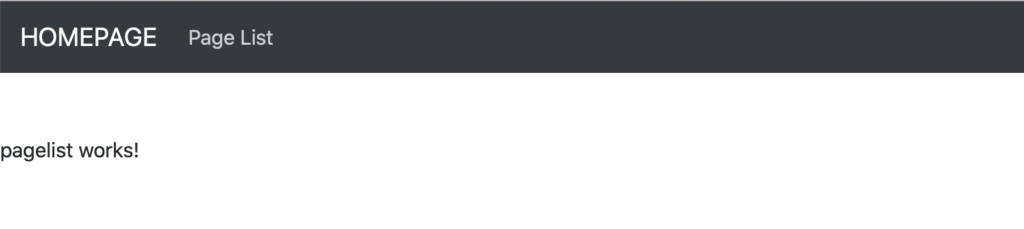
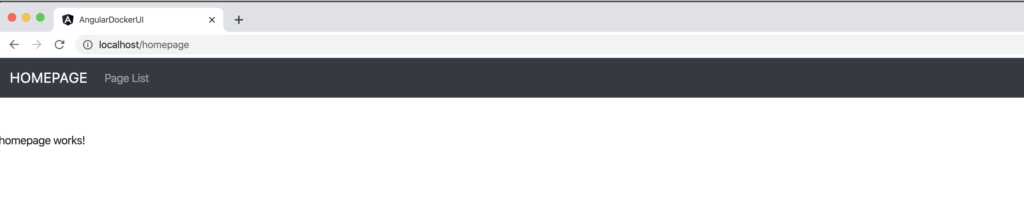
Now, if we open a browser and we go to http://localhost/homepage, this will be the result: