In this post, we will see how to create a Sql Server Db backup and save it into a Storage container, using Powershell.
We will run a backup of the Db called dockertest and then, we will save it into a container called dbbackup.
In order to create a complete backup, we will use a bacpac file, that is a ZIP file with an extension of BACPAC containing the metadata and data from a SQL Server database.
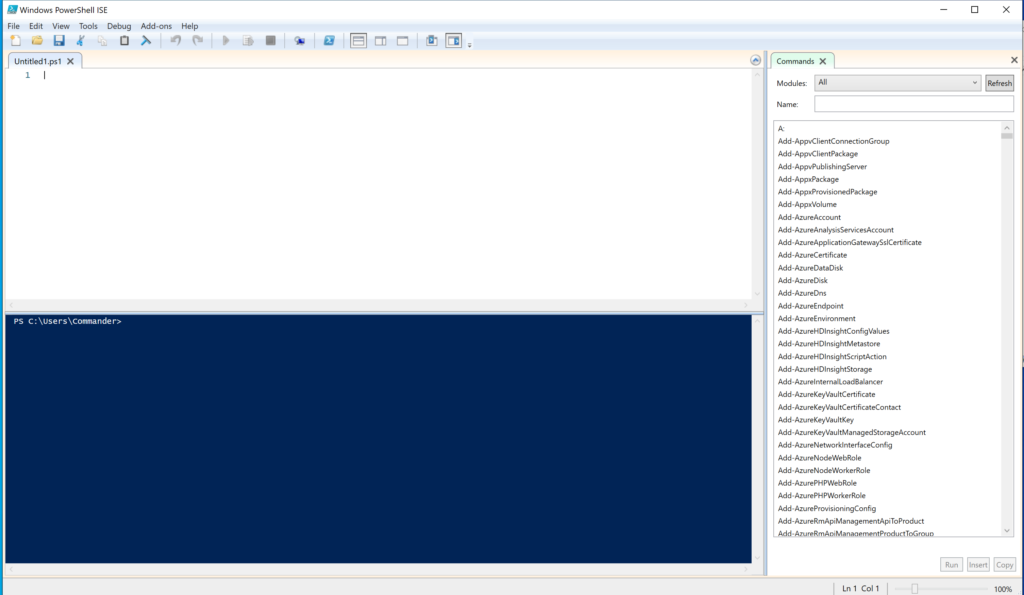
First of all, we open Windows Powershell ISE:
and then, we write and run this code:
$subscriptionId = "g7c90bed-bs14-98cs-o609-wa4n5ui18261"

Login-AzureRmAccount
Set-AzureRmContext -SubscriptionId $subscriptionId

# Database to export
$DatabaseName = "dockertest"
$ResourceGroupName = "dockergroup"
$ServerName = "dockertestapi"
$serverAdmin = 'XXXXXX'
$serverPassword = 'XXXXXX'
$securePassword = ConvertTo-SecureString -String $serverPassword -AsPlainText -Force
$creds = New-Object -TypeName System.Management.Automation.PSCredential -ArgumentList $serverAdmin, $securePassword

# Generate a unique filename for the BACPAC
$bacpacFilename = "dockertest" + (Get-Date).ToString("yyyyMMddHHmm") + ".bacpac"

# Storage account info for the BACPAC
$BaseStorageUri = "https://damianostorage.blob.core.windows.net/test/"
$BacpacUri = $BaseStorageUri + $bacpacFilename
$StorageKeytype = "StorageAccessKey"
$StorageKey = "xxxxxxxxxxxxxxxxxxxxxxxxxxxxxxxxxxxxxxxxxxxxxxxx"

$exportRequest = New-AzureRmSqlDatabaseExport -ResourceGroupName $ResourceGroupName -ServerName $ServerName `
   -DatabaseName $DatabaseName -StorageKeytype $StorageKeytype -StorageKey $StorageKey -StorageUri $BacpacUri `
   -AdministratorLogin $creds.UserName -AdministratorLoginPassword $creds.Password
$exportRequest

# Check status of the export
Get-AzureRmSqlDatabaseImportExportStatus -OperationStatusLink $exportRequest.OperationStatusLink
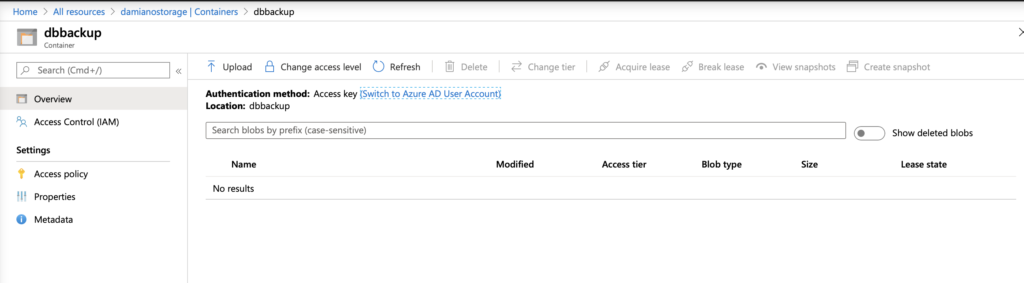
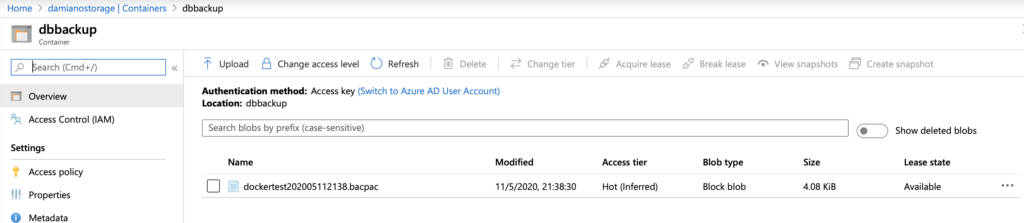
After a while, we go to the container and we should see our backup:
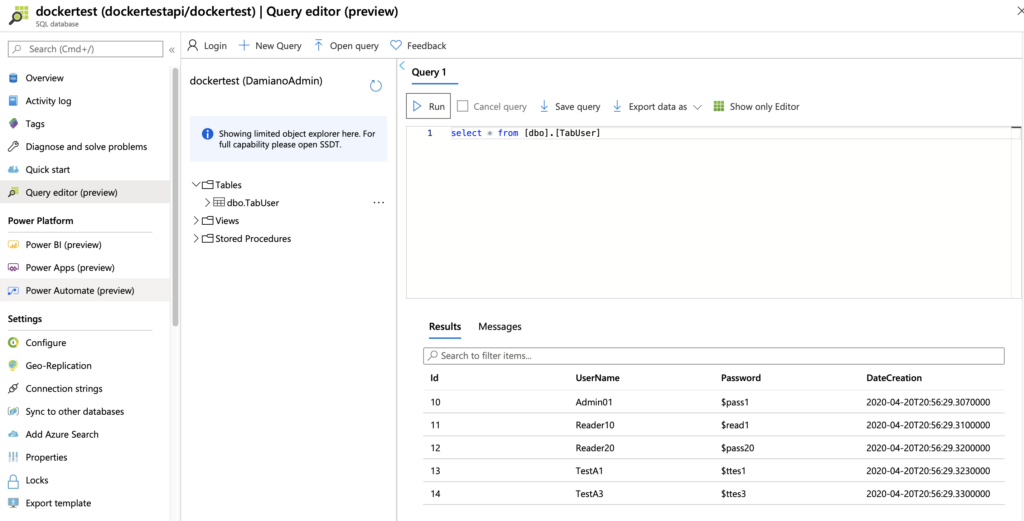
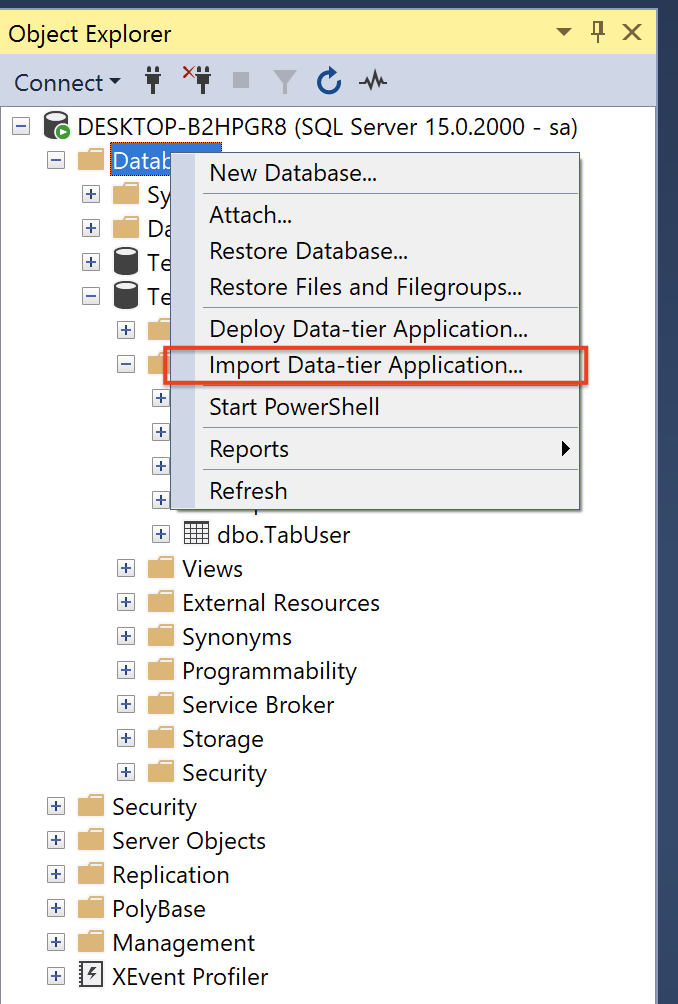
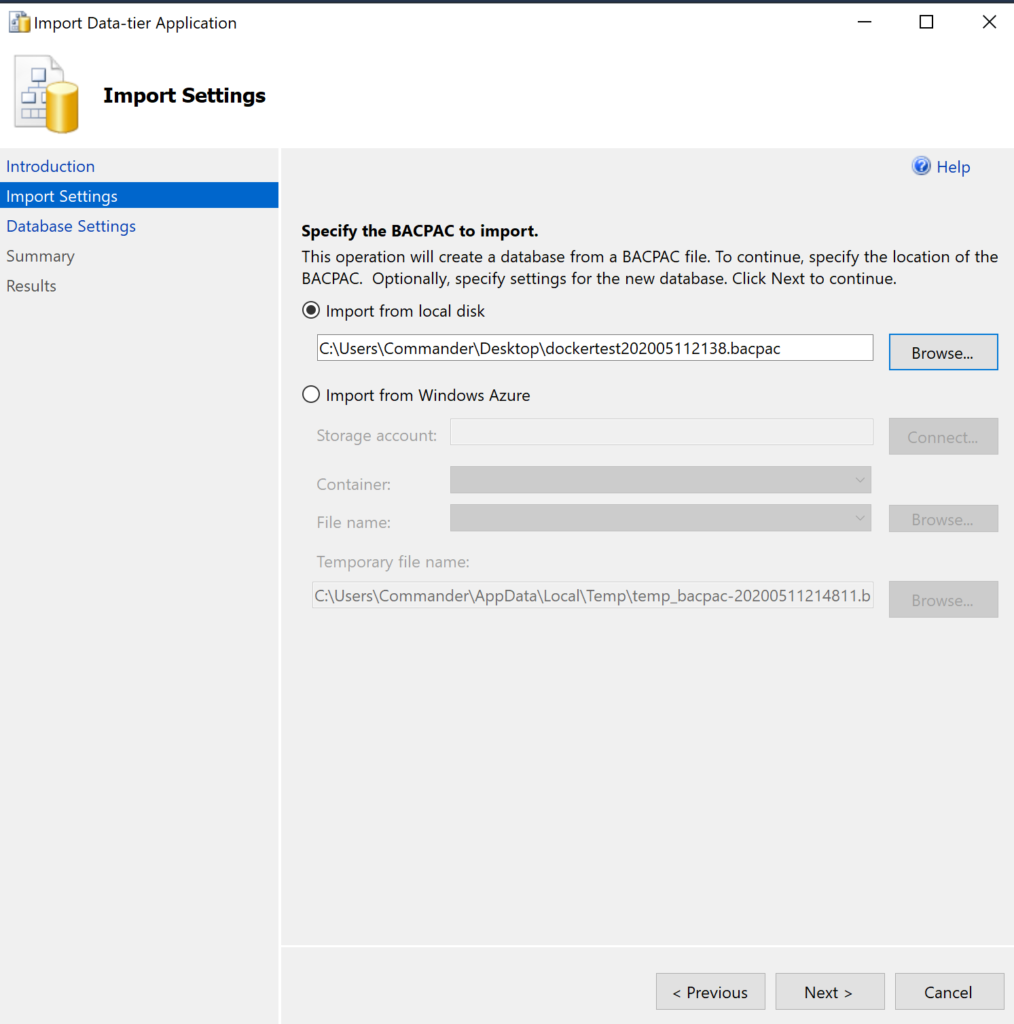
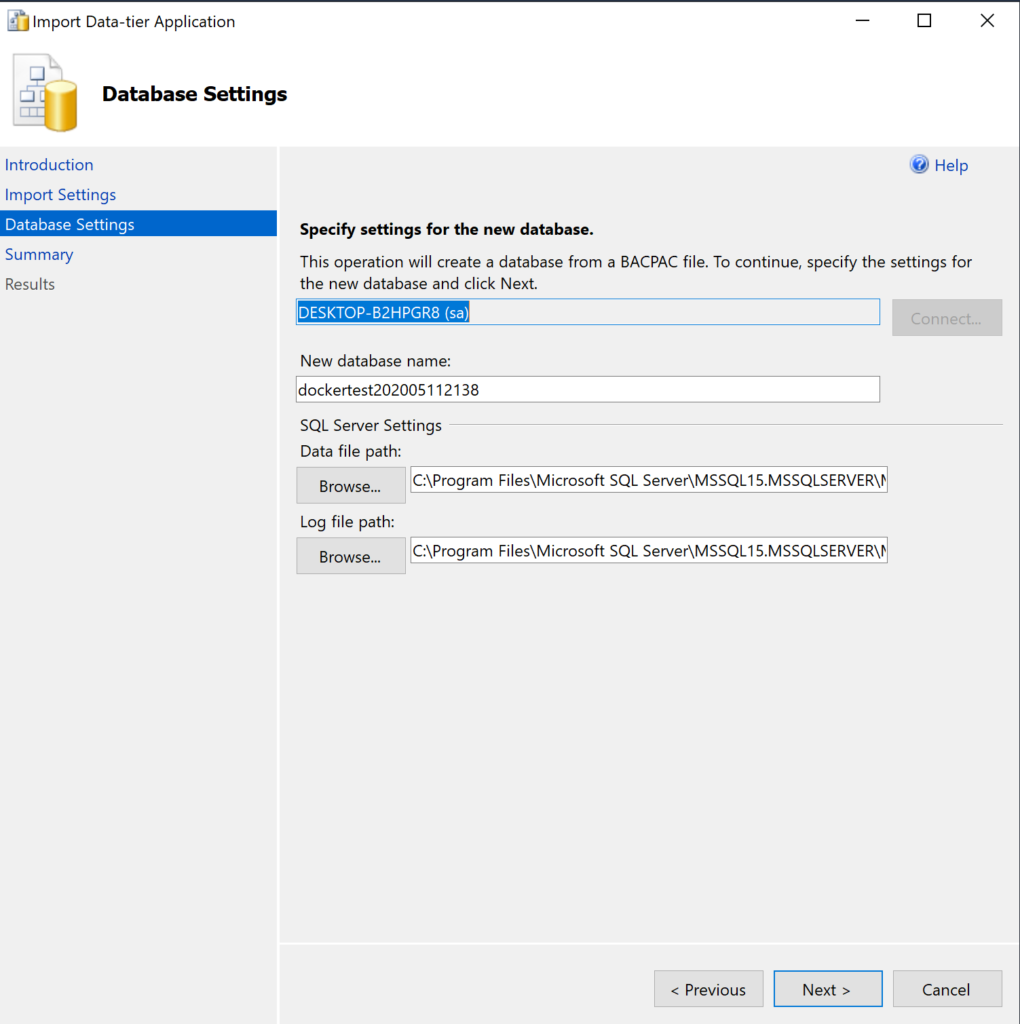
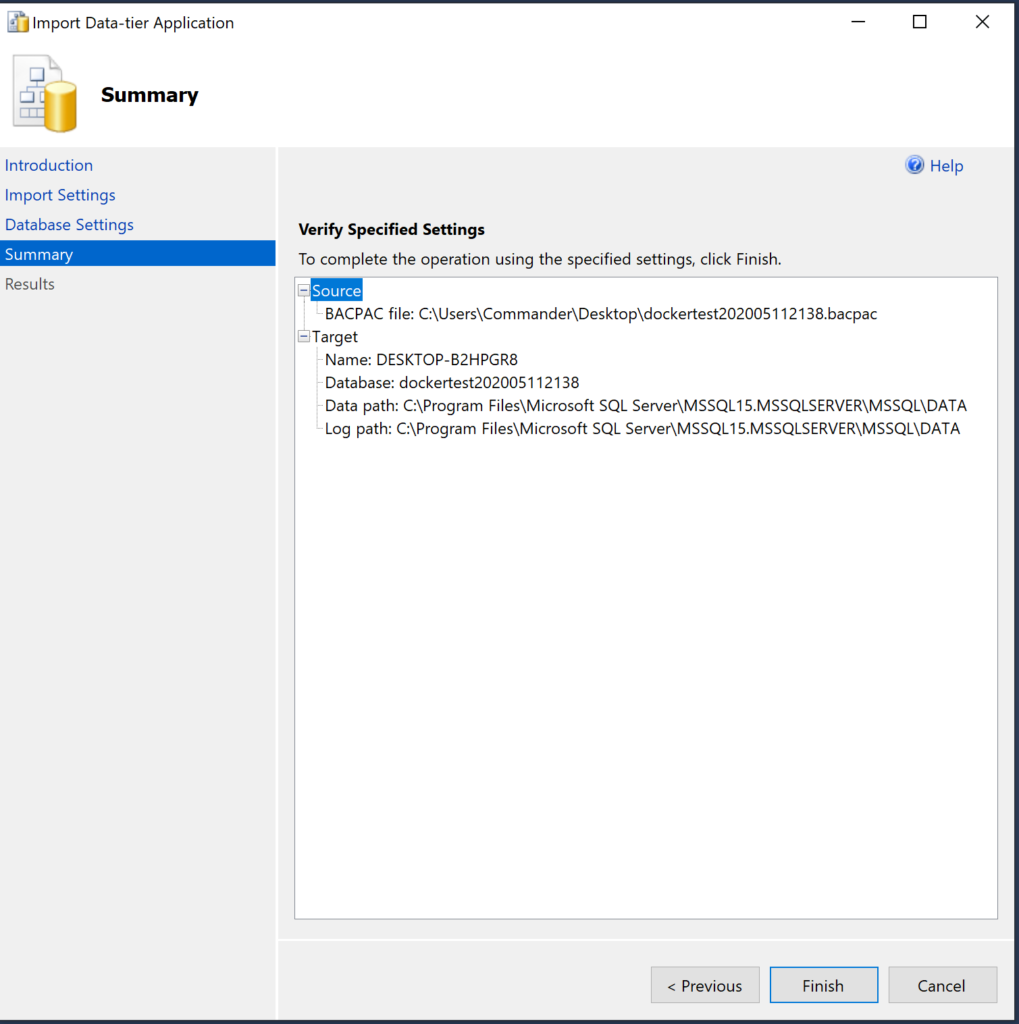
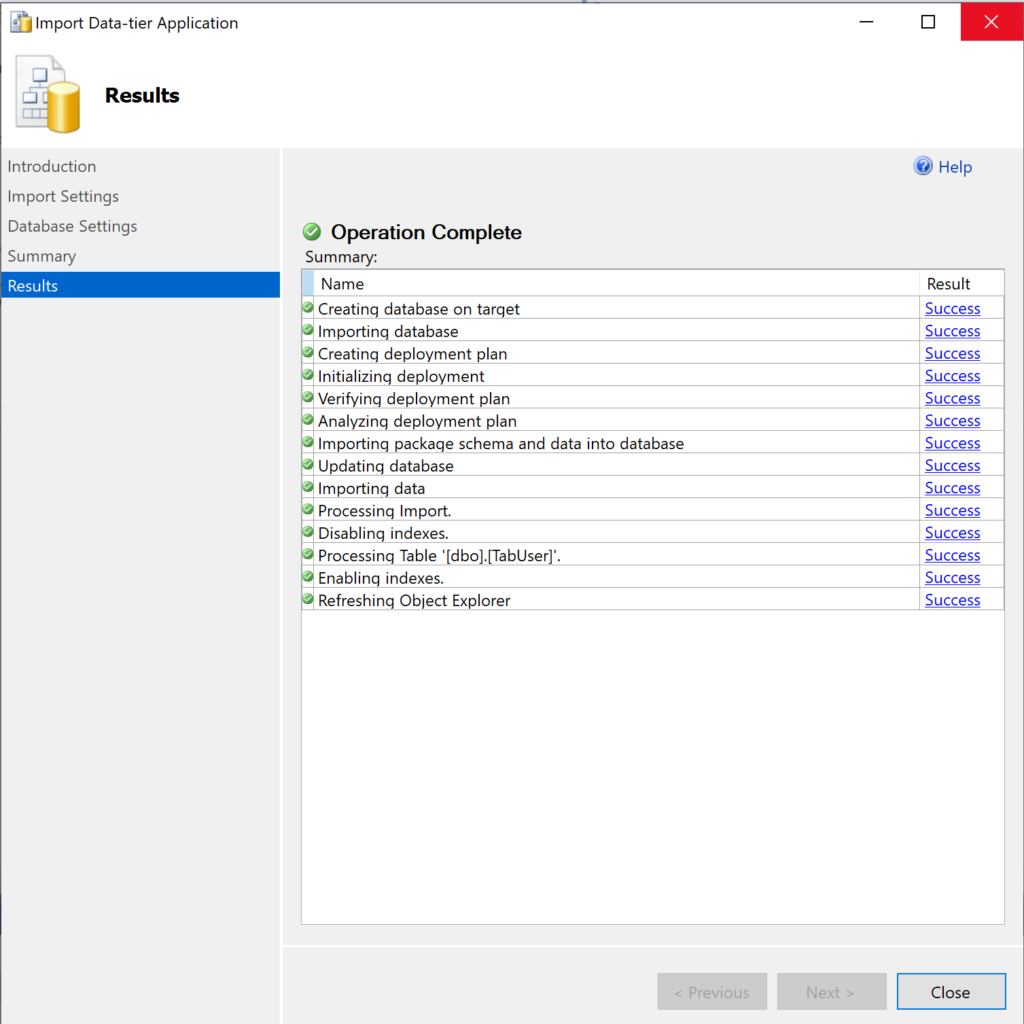
Now, we download the file, we open SSMS and we will restore the DB using the option “Import Data-tier Application”:

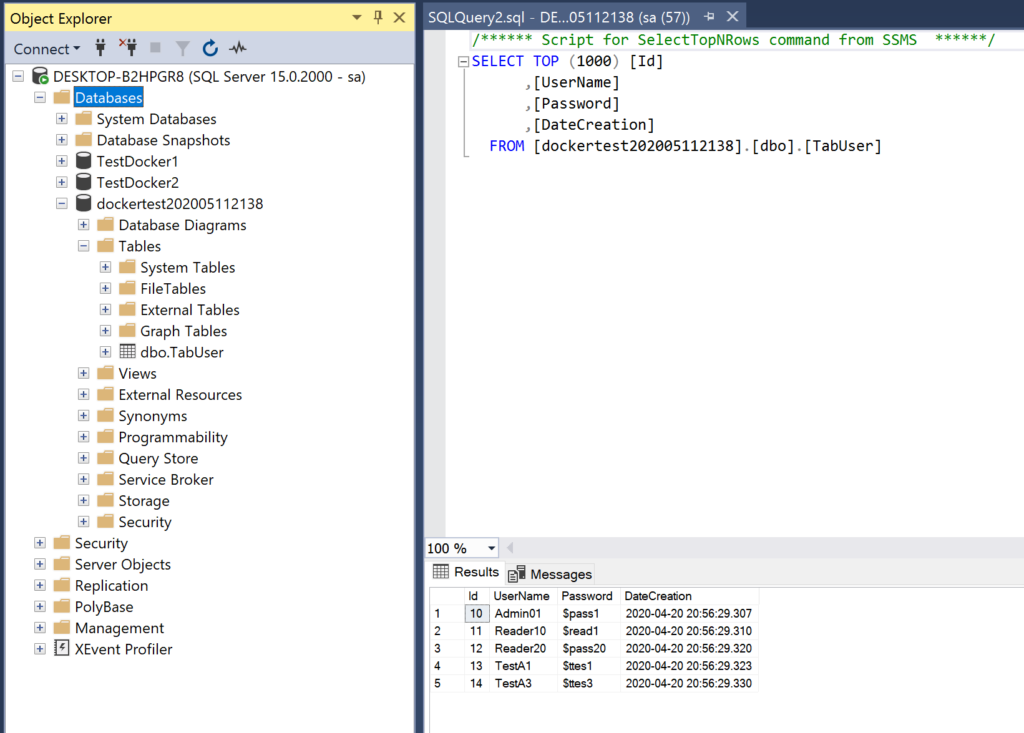
Finally, in order to verify that everything worked fine, we open the new db and we run a simple select: