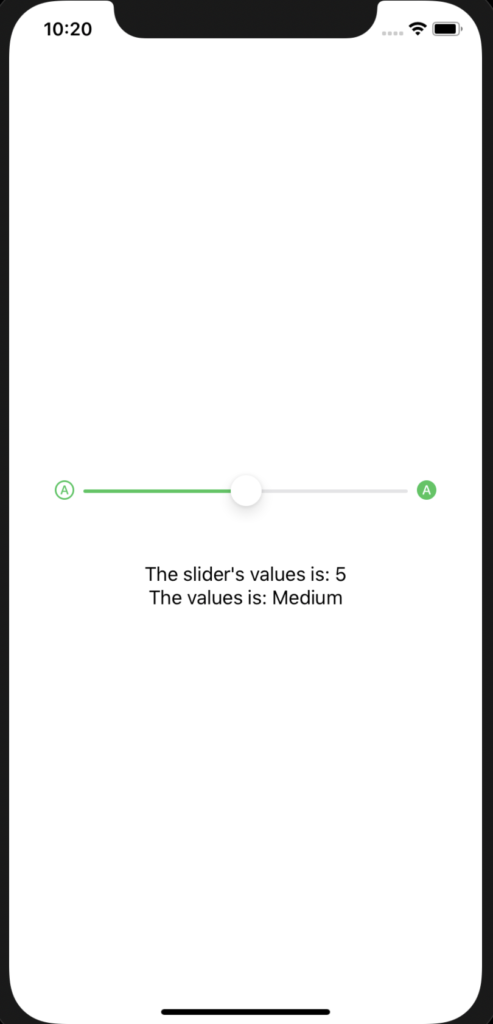
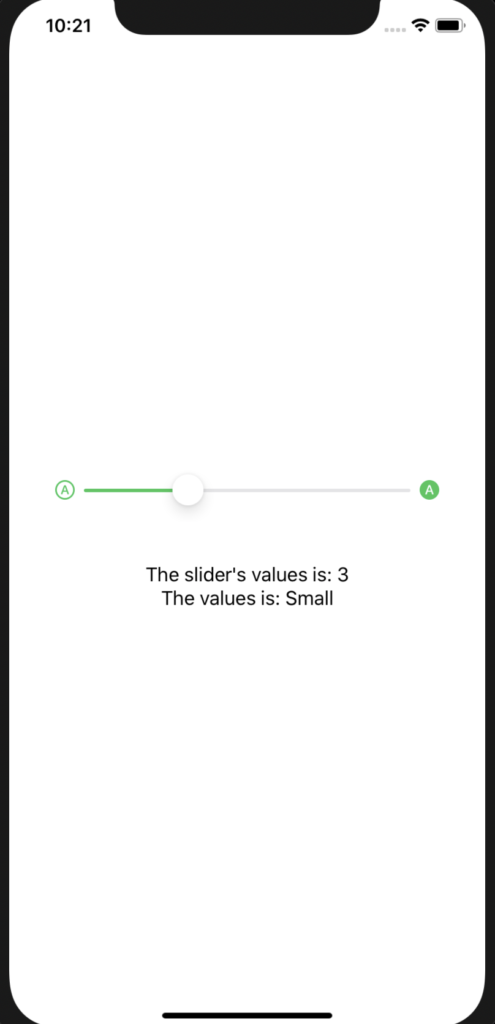
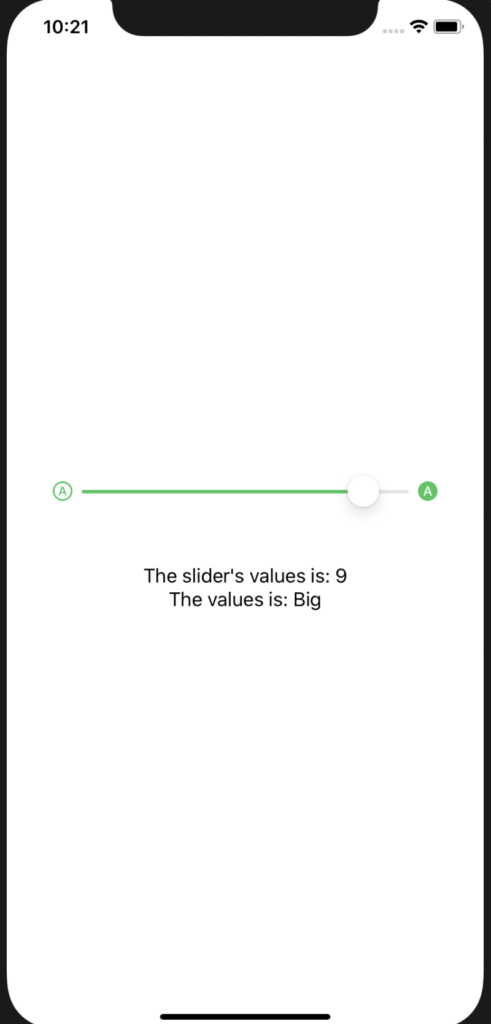
In this post, we will see how to create and manage a Slider in Swift, with a min value equal to 0 and
a max value equal to 10 (with a step of 1).
Moreover, every time Slider will change value, the app will run a method.
We open Xcode, we create a “Single View App” application and then we add this code in the ContentView file:
[CONTENTVIEW.SWIFT]
import SwiftUI

struct ContentView: View {
    // Definition of variables used to manage the Slider
    @State var lightValue = 5.0
    var minLight = 0.0
    var maxLight = 10.0

    @State var message = "Medium"

    // This method is called every time the Slider
    // changes value
    func ShowValue() {
        switch self.lightValue
        {
            case 1...3:
                self.message="Small"
            case 4...7:
                self.message="Medium"
            default:
                self.message="Big"
        }
    }

    var body: some View {
        VStack{
            Spacer()

            HStack {
                // Load a SF Symbol called a.circle
                Image(systemName: "a.circle")
                .foregroundColor(.green)

                // Definition of Slider
                Slider(
                        // Manage of Slider's value
                        value: Binding(
                                get: {
                                    self.lightValue
                                },
                                set: {(newValue) in
                                      self.lightValue = newValue
                                      // Every time the Slider changes the value,
                                      // the app will call the method ShowValue
                                      self.ShowValue()
                                }
                            ),
                        // Definition of Slider's min and max values
                        in: minLight...maxLight, step: 1.0
                ).accentColor(.green)

                // Load a SF Symbol called a.circle.fill
                Image(systemName: "a.circle.fill")
                .foregroundColor(.green)
            }.padding(40)

            Text("The slider's values is: \(Int(self.lightValue))")

            Text("The values is: \(self.message)")

            Spacer()
        }

    }
}

struct ContentView_Previews: PreviewProvider {
    static var previews: some View {
        ContentView()
    }
}
If we run the application, this will be the result:


