In this post, we will see how to use clipShape() in order to clip an image controlling its shape.
But what is clipShape()?
From Apple developer web site:
“Sets a clipping shape for a view.
Use clipShape(_:style:) to clip the view to the provided shape. By applying a clipping shape to a view, you preserve the parts of the view covered by the shape, while eliminating other parts of the view. The clipping shape itself isn’t visible.“
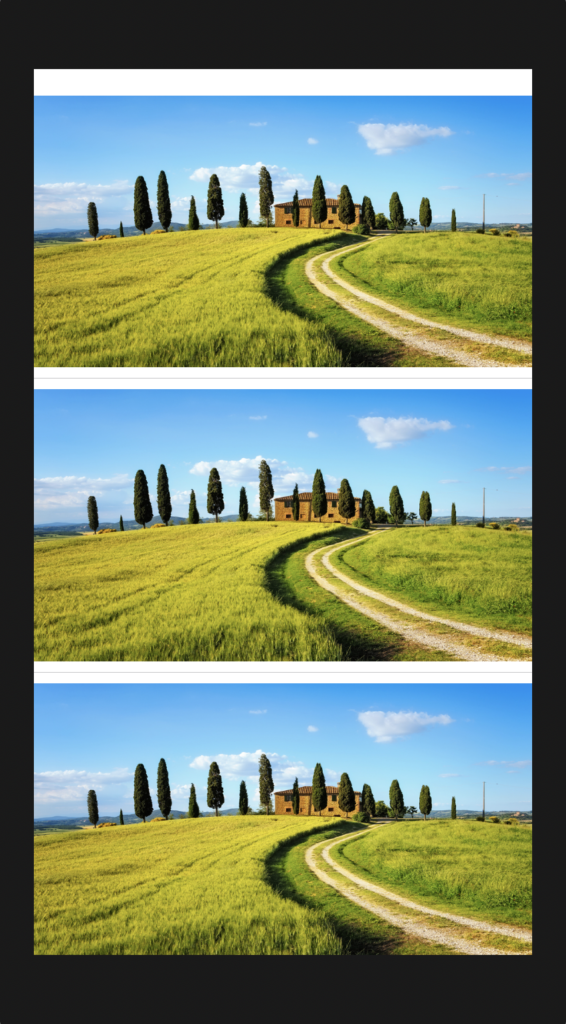
We open Xcode, we create a Single View App, we add an image called countryside and finally we add three times in the ContentView:
1 2 3 4 5 6 7 8 9 10 11 12 13 14 15 16 17 18 19 20 21 22 | import SwiftUIstruct ContentView: View { var body: some View { VStack { Image("countryside") .resizable() Divider() Image("countryside") .resizable() Divider() Image("countryside") .resizable() } }}struct ContentView_Previews: PreviewProvider { static var previews: some View { ContentView() }} |
If we run the application, this will be the result:
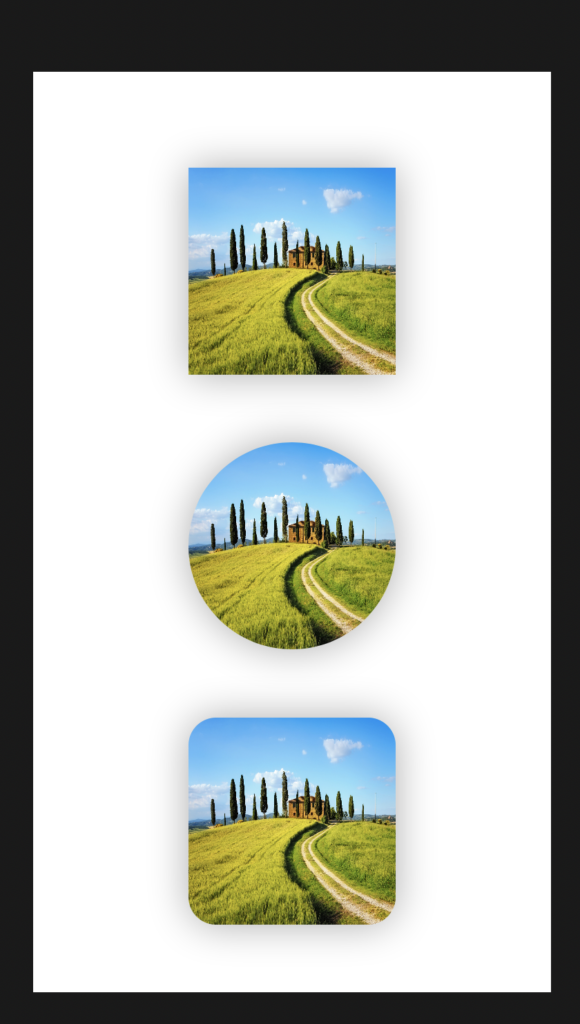
Now, we will use clipShape() in order to clip the images modifying the shape:
1 2 3 4 5 6 7 8 9 10 11 12 13 14 15 16 17 18 19 20 21 22 23 24 25 26 27 28 29 30 31 32 33 | import SwiftUIstruct ContentView: View { var body: some View { VStack { Spacer() Image("countryside") .resizable() .frame(width:150, height: 150) .clipShape(Rectangle()) .shadow(radius: 15) Spacer() Image("countryside") .resizable() .frame(width:150, height: 150) .clipShape(Circle()) .shadow(radius: 15) Spacer() Image("countryside") .resizable() .frame(width:150, height: 150) .clipShape(RoundedRectangle(cornerRadius: 20)) .shadow(radius: 15) Spacer() } }}struct ContentView_Previews: PreviewProvider { static var previews: some View { ContentView() }} |
If we run the application, this will be the result: