In this post, we will see how to use the new component AnyLayout introduced in SwiftUI 4.
But first of all, what is AnyLayout?
From Apple developer web site:
“Use an AnyLayout instance to enable dynamically changing the type of a layout container without destroying the state of the subviews”
In a nutshell, with AnyLayout we can switch for example between VStack and HStack without destroying the state of the subviews.
Let’s start by opening Xcode then, we create an Single View App project and finally we add this code in ContentView.swift:
[CONTENTVIEW.SWIFT]
import SwiftUI

struct ContentView: View {
    var body: some View {

        VStack {
            Rectangle()
                .fill(.blue)
                .frame(width: 150, height: 150)
            Circle()
                .fill(.red)
                .frame(width: 150, height: 150)
            Capsule()
                .fill(.orange)
                .frame(width: 150, height: 100)
        }
        .padding()
        .frame(maxWidth: .infinity, maxHeight: .infinity)
        .background(Color.cyan)
    }
}

struct ContentView_Previews: PreviewProvider {
    static var previews: some View {
        ContentView()
    }
}
If we run the application, these will be the results:
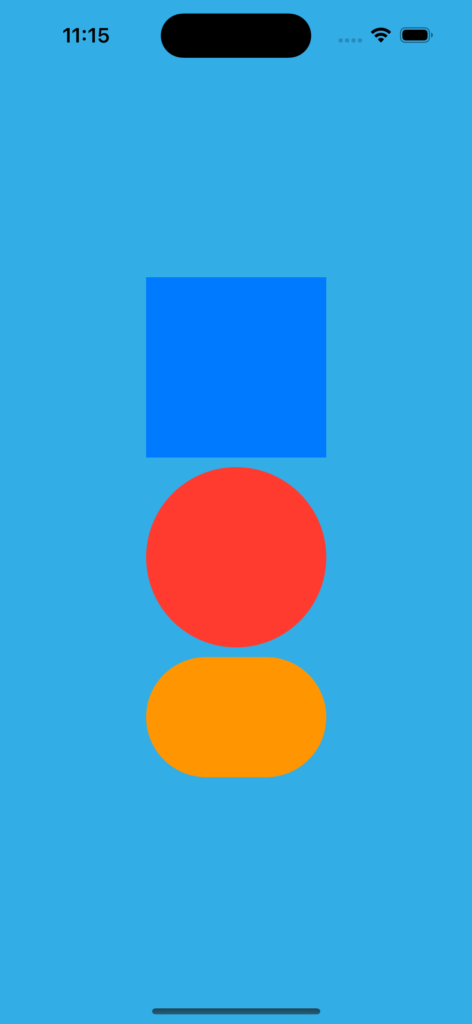
Portrait orientation

Landscape orientation
We can see that the application in Landscape orientation doesn’t work perfectly but, using AnyLayout and with a few code tweaks, we will fix it easily.
[CONTENTVIEW.SWIFT]
import SwiftUI

struct ContentView: View {
    // with this variable we can handle the layout orientation
    @Environment(\.verticalSizeClass) var vSizeClass

    var body: some View {
        let layout = vSizeClass == .compact ? AnyLayout(HStackLayout()) : AnyLayout(VStackLayout())

        layout {
            Rectangle()
                .fill(.blue)
                .frame(width: 150, height: 150)
            Circle()
                .fill(.red)
                .frame(width: 150, height: 150)
            Capsule()
                .fill(.orange)
                .frame(width: 150, height: 100)
        }
        .padding()
        .frame(maxWidth: .infinity, maxHeight: .infinity)
        .background(Color.cyan)
    }
}

struct ContentView_Previews: PreviewProvider {
    static var previews: some View {
        ContentView()
    }
}
If we run the application, these will be the results:
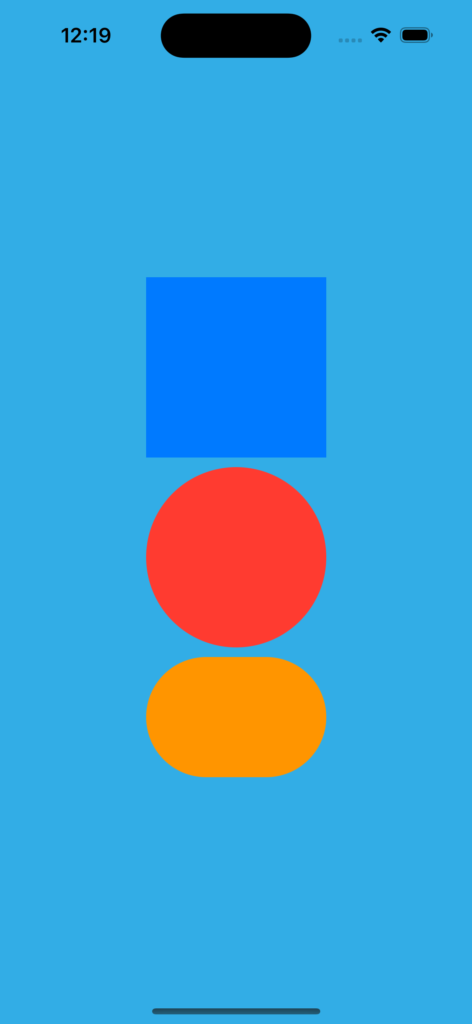
Portrait orientation

Landscape orientation
Finally, we will now see how to switch the layout not with the device orientation but using a button.
[CONTENTVIEW.SWIFT]
import SwiftUI

struct ContentView: View {
    @State private var switchLayout = false

    var body: some View {
        let layout = switchLayout ? AnyLayout(HStackLayout()) : AnyLayout(VStackLayout())

        VStack{
            Button{
                self.switchLayout.toggle()
            }
            label:
            {
                Text("Change Layout")
                    .foregroundColor(Color.black)
            }

            layout {
                Rectangle()
                    .fill(.blue)
                    .frame(width: 150, height: 150)
                Circle()
                    .fill(.red)
                    .frame(width: 150, height: 150)
                Capsule()
                    .fill(.orange)
                    .frame(width: 150, height: 100)
            }
        }

        .animation(.default, value: self.switchLayout)
        .padding()
        .frame(maxWidth: .infinity, maxHeight: .infinity)
        .background(Color.cyan)
    }
}

struct ContentView_Previews: PreviewProvider {
    static var previews: some View {
        ContentView()
    }
}
If we run the application, these will be the results:
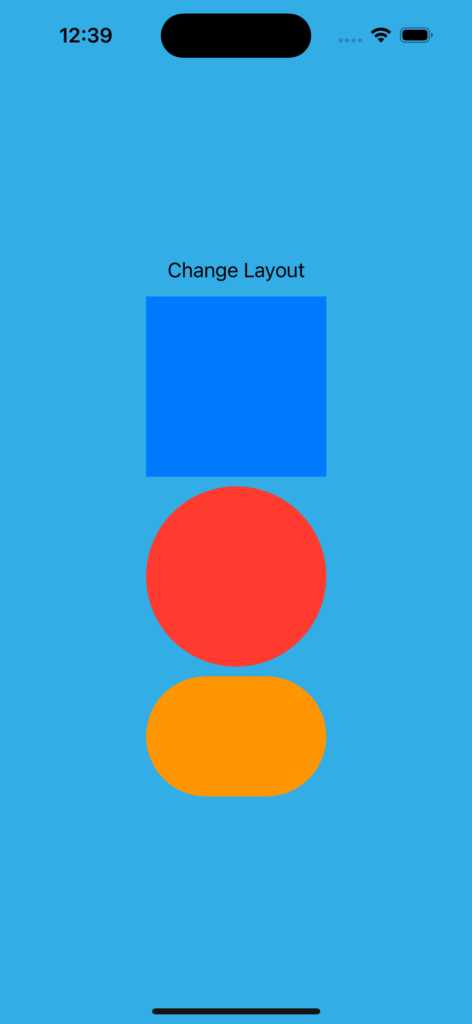
Portrait orientation
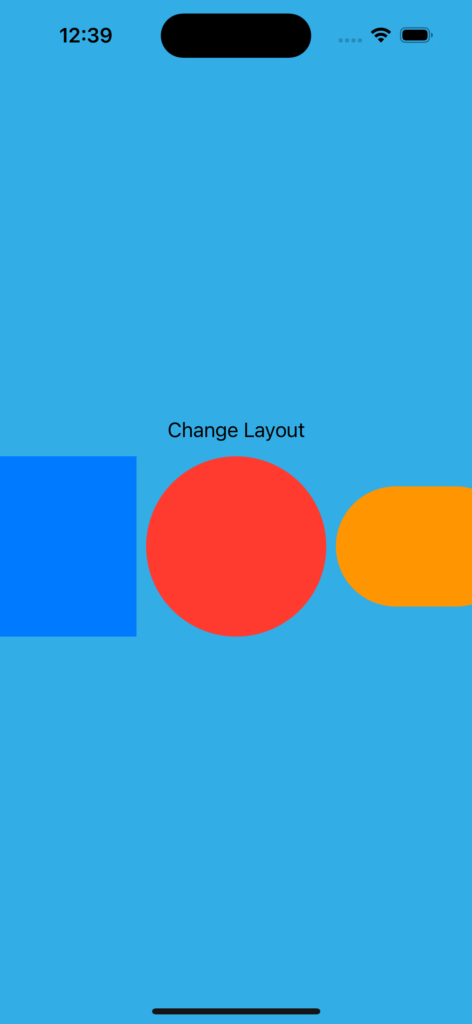
Landscape orientation