In this post, we will see what “View That Fits” is and how to use it in our projects.
But first of all, what is “View That Fits”?
ViewThatFits is a new view in SwiftUI that was introduced in iOS 16. It allows us to easily create adaptive layouts that can fit different screen sizes. ViewThatFits takes a series of views as its content, and it will choose the first view that fits within the available space. This makes it a great way to create layouts that look great on a variety of devices, from small iPhones to large iPads.
For all information, check the Apple web site.
Let’s see some examples:
EXAMPLE 1:
In this example, we have two Text objects with different lengths.
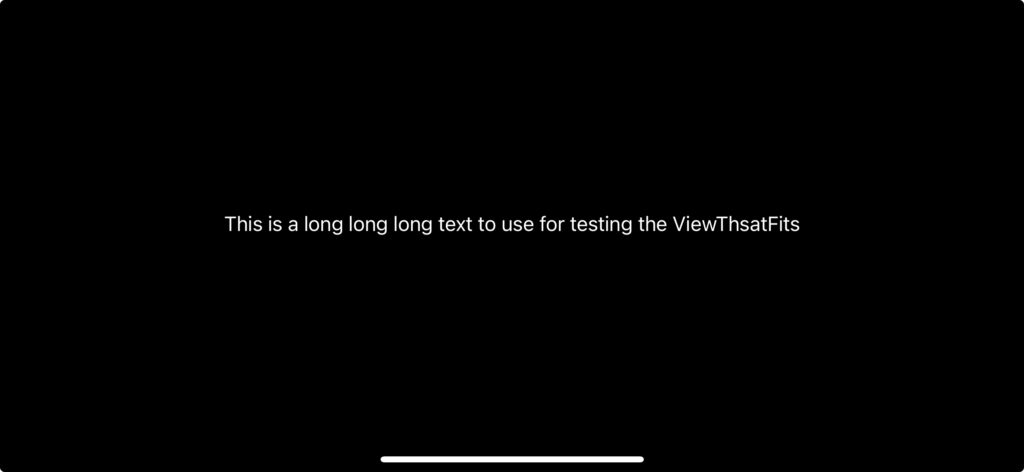
With ViewThatFits the system will select the first Text that fits the length of the screen; in details, when the iPhone is in ‘Portrait’, we will see the shorter message instead, in ‘Landscape’, we will see the longer message.
[CONTENTVIEW.SWIFT]
import SwiftUI

struct ContentView: View {
    var body: some View {
        ViewThatFits()
        {
            Text("This is a long long long text to use for testing the ViewThsatFits")
            Text("Hello world")
        }
    }
}

#Preview {
    ContentView()
}
If we run the application, the following will be the result:


EXAMPLE 2:
In this other example, we have four Text objects, inserted in a VStack and in a HStack, with different lengths.
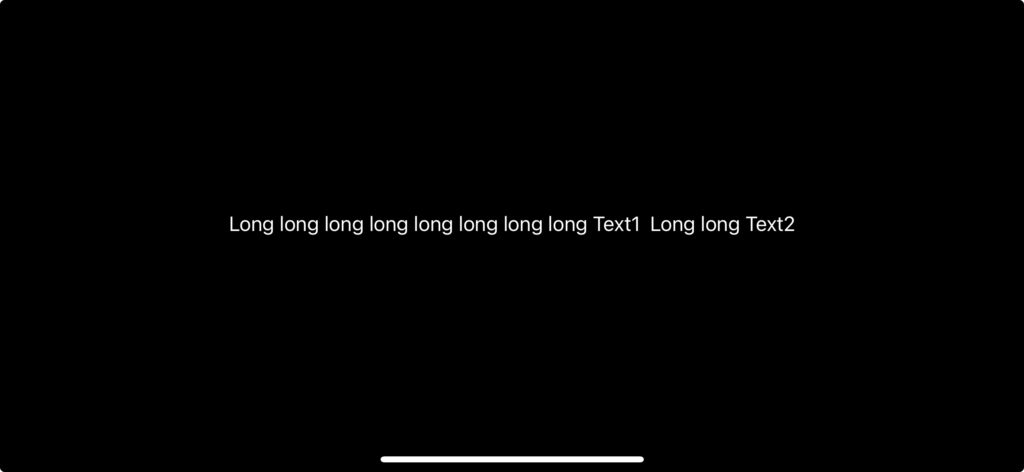
If the HStack doesn’t fit, then the system will try to show the VStack.
[CONTENTVIEW.SWIFT]
import SwiftUI

struct ContentView: View {
    var body: some View {
        ViewThatFits(in: .horizontal)
        {
            HStack{
                Text("Long long long long long long long long Text1")
                Text("Long long Text2")
            }

            VStack{
                Text("Text 1")
                Text("Text 2")
            }
        }
    }
}

#Preview {
    ContentView()
}
If we run the application, the following will be the result:


I want to highlight that, the order of the views that we pass to ViewThatFits, is important.
Infact, ViewThatFits will try to show the first view that fits so, we should usually place the object from the biggest to the smallest.
Also, if no object fits with the screen resolution, nothing will be displayed.