In this post, we will see how to manage the Routing in React.
In a nutshell, we will see how it is possible to move between different parts of an application.
First of all, we create a React project called “test router” (using the command npx Create-react-app testrouter) and we modify the file App.cs:
[APP.CS]
ul {
  list-style-type: none;
  margin: 0;
  padding: 0;
  overflow: hidden;
  border: 1px solid #e7e7e7;
  background-color: #f3f3f3;
}

li {
  float: left;
}

li a {
  display: block;
  color: #666;
  text-align: center;
  padding: 14px 16px;
  text-decoration: none;
}

li a:hover:not(.active) {
  background-color: #ddd;
}

li a.active {
  color: white;
  background-color: #4CAF50;
}
Then, we add four files called home, about, info and notfound:
[HOME.JS]
const home = () => {
    return (
        <div>
            <h1>HOME</h1>
        </div>
     );
}

export default home;
[INFO.JS]
const info = () => {
    return (
        <div>
            <h1>Info</h1>
        </div>
    );
}

export default info;
[ABOUT.JS]
const about = () => {
    return (
        <div>
            <h1>About</h1>
        </div>
    );
}

export default about;
[NOTFOUND.JS]
const notfound = () => {
    return (
        <div>
            <h1>Page not found!</h1>
        </div>
     );
}

export default notfound;
Now, in order to manage the routing, we have to install a library called react-router-dom using the command
npm install react-router-dom.
After the installation, we create a new file called navbar where we will insert a menu:
[NAVBAR.JS]
import {Link} from 'react-router-dom';

const navbar = () => {
    return (
        <div>
            <nav>
                <Link to="/">Home</Link>
                <Link to="/about">About</Link>
                <Link to="/info">Info</Link>
            </nav>
        </div>
     );
}

export default navbar;
Finally, we modify the file App.js:
[APP.JS]
import './App.css';
import { BrowserRouter as Router, Route, Switch } from 'react-router-dom';
import Navbar from './navbar';
import Home from './home';
import About from './about';
import Info from './info';
import Notfound from './notfound';

function App() {
  return (
    <Router>
      <div>
        <Navbar/>
        <div>
          <Switch>
            <Route exact path="/">
              <Home/>
            </Route>
            <Route path="/about">
              <About/>
            </Route>
            <Route path="/info">
              <Info/>
            </Route>
            <Route path="*">
              <Notfound/>
            </Route>
          </Switch>
        </div>
      </div>
    </Router>
  );
}

export default App;
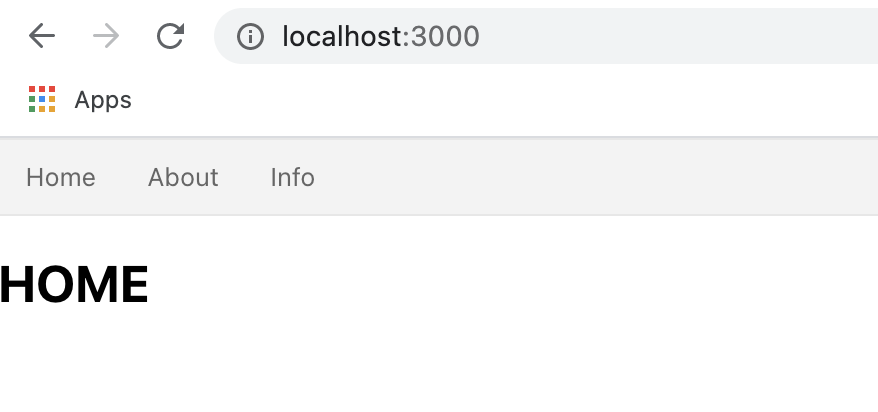
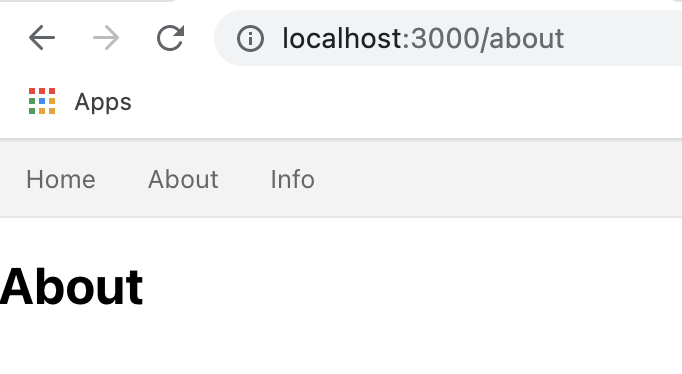
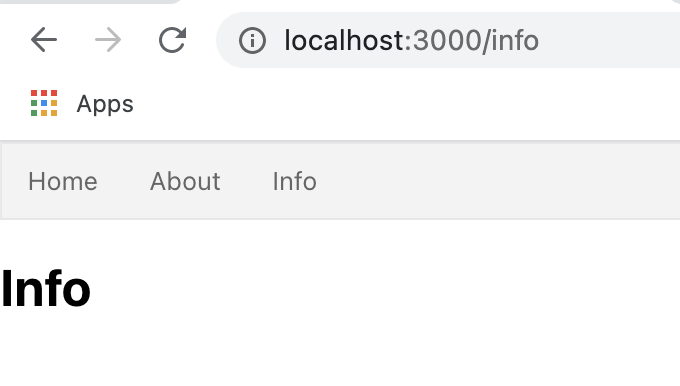
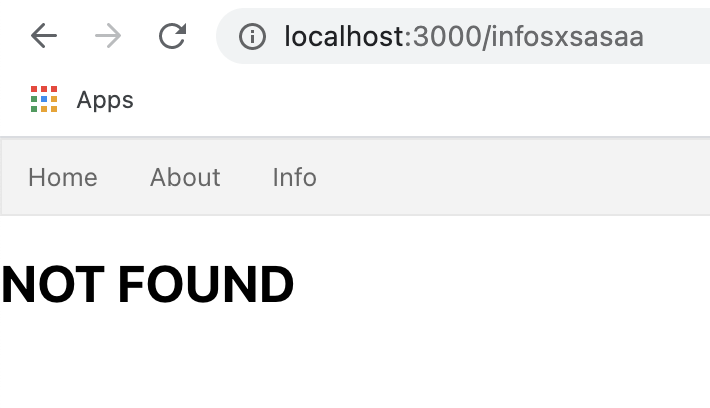
We have done and now, if we run the application, this will be the result:
CREATE A LINK
Now, we will see how to insert a link in the page notfound for coming back in Home:
[NOTFOUND.JS]
import { Link } from "react-router-dom"

const notfound = () => {
    return (
        <div>
            <h1>NOT FOUND</h1>
            <Link to="/">Back to the Home</Link>
        </div>
    );
}

export default notfound;
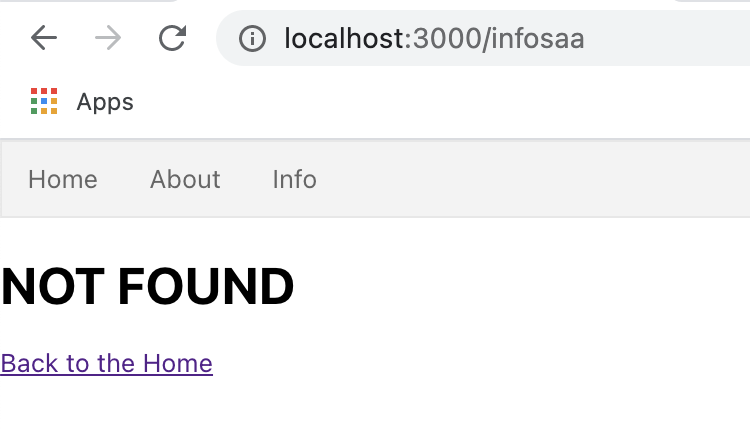
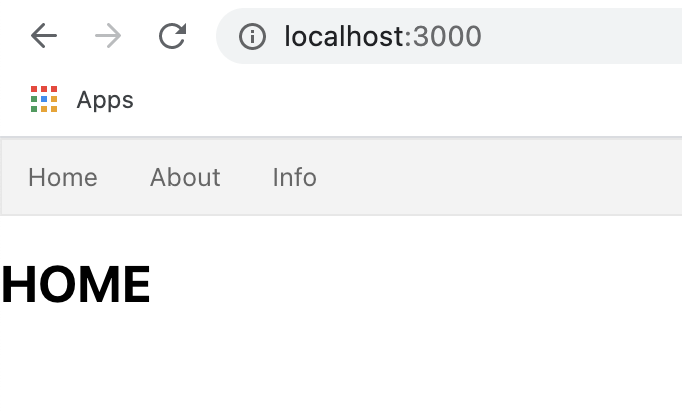
If we run the application, this will be the result:
USE PARAMETERS
Now, we will see how to pass a parameter from the Home page to the Info page:
[HOME.JS]
import { Link } from "react-router-dom"

const home = () => {
    var value = "damiano";

    return (
        <div>
            <h1>HOME</h1>
            <br/>
            <Link to={`/info/${value}`}>Send value to Info</Link>
        </div>
     );
}

export default home;
[INFO.JS]
import { useParams } from "react-router";

const Info = () => {
    const{name} = useParams();

    return (
        <div>
            <h1>Info</h1>
            <h2>The value from Home is: {name}</h2>
        </div>
    );
}

export default Info;
[APP.JS]
import './App.css';
import { BrowserRouter as Router, Route, Switch } from 'react-router-dom';
import Navbar from './navbar';
import Home from './home';
import About from './about';
import Info from './info';
import Notfound from './notfound';

function App() {
  return (
    <Router>
      <div>
        <Navbar/>
        <div>
          <Switch>
            <Route exact path="/">
              <Home/>
            </Route>
            <Route path="/about">
              <About/>
            </Route>
            <Route path="/info/:name">
              <Info/>
            </Route>
            <Route path="*">
              <Notfound/>
            </Route>
          </Switch>
        </div>
      </div>
    </Router>
  );
}

export default App;
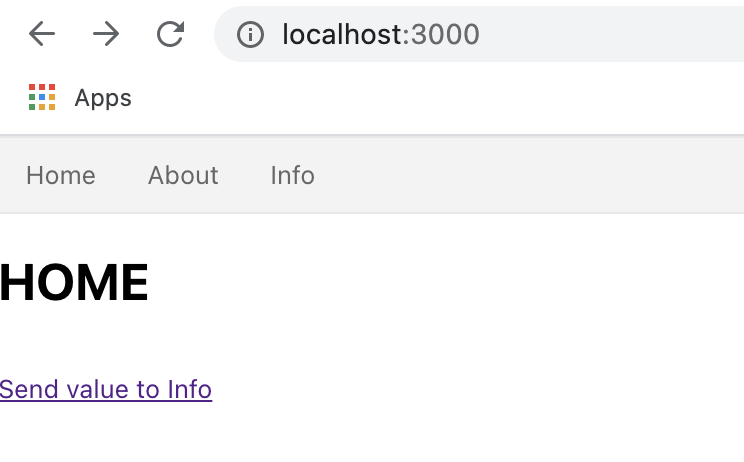
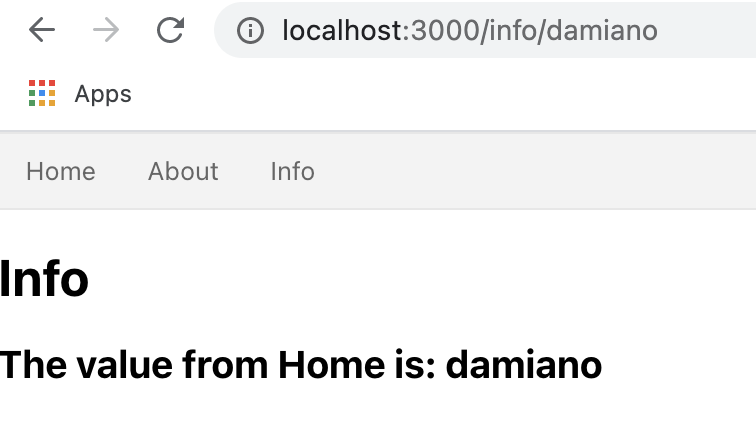
If we run the application, this will be the result:
IN THIS POST WE HAVE SEEN THE BASIC COMMANDS OF REACT ROUTER.
FOR ALL INFORMATION, WE CAN READ THE “REACT ROUTER DOCUMENTATION“.